Debugging in Scratch: The Ultimate Guide for Young Coders

Reading Time: 9 mins

Introduction

Picture this: You’ve spent hours creating an awesome Scratch game, but suddenly your sprite won’t move, sounds don’t play, or your clicker game stops working entirely. Frustrating, right?

Every programmer—whether they’re 8 or 80—faces this challenge. The difference between giving up and becoming a confident coder lies in mastering one crucial skill: debugging.

In this comprehensive guide, you’ll discover proven debugging techniques that will transform you from a frustrated beginner into a confident problem-solver. By the end, you’ll not only fix bugs faster but also prevent them from happening in the first place!


What is Debugging in Scratch Programming?

Debugging in Scratch is the process of finding and fixing errors (called “bugs”) in your programming projects. Think of it like being a detective—you gather clues, test theories, and solve mysteries to make your code work perfectly.

The term “bug” in programming has an interesting history. In 1947, computer pioneer Grace Hopper found an actual moth stuck in a computer relay, causing the machine to malfunction. She taped the bug into her logbook and wrote, “First actual case of bug being found.” Today, we still call programming errors “bugs”!

Why Debugging Matters for Young Coders

In my 15 years of teaching programming to kids, I’ve observed that students who master debugging early become more confident, creative, and persistent programmers. Here’s why debugging is essential:

  • Builds Problem-Solving Skills: Debugging teaches logical thinking and systematic problem-solving
  • Increases Confidence: Successfully fixing bugs gives young coders a sense of accomplishment
  • Improves Code Quality: Regular debugging leads to cleaner, more efficient programs
  • Develops Patience: Debugging teaches persistence and attention to detail

Common Misconceptions About Debugging

Many young programmers think bugs mean they’re “bad at coding.” This couldn’t be further from the truth! Even professional developers spend 30-50% of their time debugging. It’s not a sign of failure—it’s an integral part of the programming process.


Common Types of Bugs in Scratch Projects

Understanding different bug types helps you identify and fix problems faster. Here are the most common bugs young Scratch programmers encounter:

1. Logic Bugs

Logic bugs occur when your code runs without crashing but doesn’t produce the expected results. These are often the trickiest to spot because everything looks correct.

Examples:

  • Your maze game character moves through walls
  • Score doesn’t increase when collecting items
  • Game ends too early or never ends

Quick Fix: Use the “say” block to display variable values and trace your logic step-by-step.

2. Syntax Errors in Block Connections

While Scratch’s visual interface prevents many syntax errors, connection issues still occur:

  • Blocks placed in wrong order
  • Missing condition blocks in if-then statements
  • Incorrect loop structures

3. Timing and Synchronization Bugs

These bugs happen when different parts of your program don’t coordinate properly:

  • Sprites appearing before backgrounds load
  • Sound effects playing at wrong times
  • Animation sequences out of sync

4. Infinite Loops

Definition: Loops that never end, causing your project to freeze or become unresponsive.

Common Causes:

  • Forgetting to change the loop condition variable
  • Using “repeat until” with conditions that never become true
  • Nested loops with overlapping conditions

5. Variable and Data Bugs

Issues with storing and using information:

  • Variables not updating correctly
  • Wrong variable scope (sprite-specific vs. global)
  • Data type mismatches (text vs. numbers)

6. Collision Detection Problems

Particularly common in platformer games:

  • Characters falling through platforms
  • Items not registering when collected
  • Enemies not responding to player contact

Essential Debugging Tools and Techniques

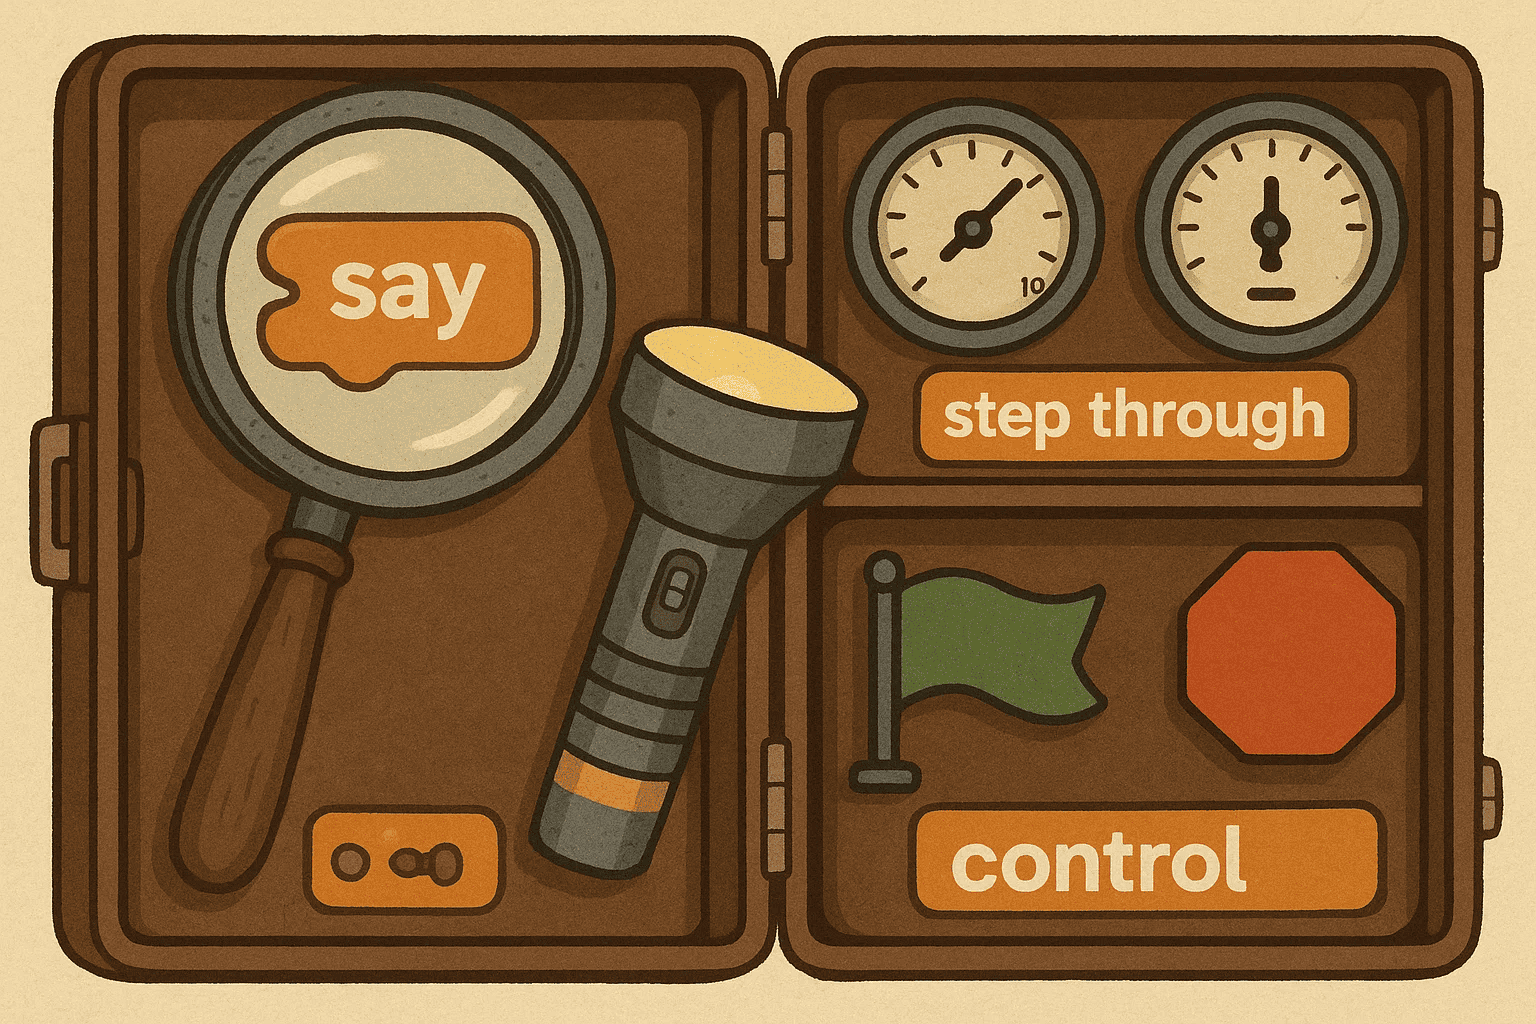
Scratch provides several built-in tools that make debugging easier and more efficient. Let’s explore each one:

1. The “Say” Block – Your Debugging Best Friend

The “say” block is like a window into your program’s mind. Use it to:

  • Display variable values at specific moments
  • Show which parts of your code are executing
  • Track the flow of your program

Pro Tip: I always teach my students to use “say” blocks with descriptive messages like “Player health: 100” instead of just showing the number.

2. Variable Monitors

Keep important variables visible on the stage by checking the box next to them in the Variables palette. This lets you watch values change in real-time.

Best Practice: Only monitor variables you’re actively debugging to avoid screen clutter.

3. Step-Through Debugging

Use Scratch’s built-in step-through feature:

  1. Right-click on any script
  2. Select “Add Comment”
  3. Use comments to mark sections for testing
  4. Run small portions of code at a time

4. The Backpack Feature

Save working code blocks in your backpack for comparison when debugging similar issues in other projects.

5. Sound and Visual Cues

Add temporary sounds or costume changes to track program flow:

Bash
when green flag clicked
play sound "pop"
say "Starting main loop" for 1 seconds
forever
  // Your main game logic here
end

Step-by-Step Debugging Process for Beginners

Follow this systematic approach to debug any Scratch project effectively:

Step 1: Identify the Problem Clearly

Before jumping into fixing, precisely define what’s wrong:

  • What should happen? (Expected behavior)
  • What actually happens? (Actual behavior)
  • When does it happen? (Specific conditions)

Example: “When I press the space bar, my character should jump, but instead it moves left and doesn’t come back down.”

Step 2: Reproduce the Bug Consistently

Try to make the bug happen again under the same conditions. If you can’t reproduce it consistently, it might be a timing or random event issue.

Debugging Checklist:

  • [ ] Note exactly what you clicked/pressed
  • [ ] Record the sequence of actions
  • [ ] Check if it happens every time or randomly

Step 3: Isolate the Problem Area

Use the “divide and conquer” method:

  1. Disable half of your code (using the “delete” option temporarily)
  2. Test if the bug still occurs
  3. If yes, the bug is in the remaining code
  4. If no, the bug is in the disabled code
  5. Repeat until you find the exact problematic section

Step 4: Examine the Code Logic

Look at the specific blocks causing issues:

  • Are conditions written correctly?
  • Do loops have proper exit conditions?
  • Are variables being updated at the right times?

Step 5: Test Potential Solutions

Make small changes and test immediately:

  • Change one thing at a time
  • Test after each change
  • Keep notes of what you tried

Step 6: Verify the Complete Fix

Once you think you’ve fixed the bug:

  • Test the specific problem scenario
  • Run through your entire program
  • Have someone else test it if possible

Advanced Debugging Strategies

For more complex Scratch projects, these advanced techniques will help you tackle challenging bugs:

Code Organization for Better Debugging

Best Practices:

  • Use clear, descriptive sprite and variable names
  • Group related code blocks together
  • Add comments explaining complex logic
  • Break large scripts into smaller, manageable pieces

Creating Test Cases

Systematic testing helps catch bugs early:

  1. Boundary Testing: Test extreme values (very high/low scores, edge positions)
  2. User Interaction Testing: Try clicking rapidly, holding buttons, unusual key combinations
  3. Scenario Testing: Play through different game paths and outcomes

Version Control Techniques

Save multiple versions of your project:

  • Save a working version before making major changes
  • Use descriptive names: “FlappyBird_v1_working” vs. “FlappyBird_v2_adding_powerups”
  • Keep backups of complex scripts in your backpack

Collaborative Debugging

Sometimes fresh eyes spot issues you missed:

  • Share your project with friends or family
  • Explain your code out loud (rubber duck debugging)
  • Join online Scratch communities for help

Prevention Tips: Writing Bug-Free Code

The best debugging strategy is preventing bugs in the first place. Here are proven techniques I’ve developed through years of teaching:

Plan Before You Code

The 5-Minute Rule: Spend 5 minutes planning for every 20 minutes of coding:

  1. Sketch your game flow on paper
  2. List all sprites and their behaviors
  3. Identify potential interaction points
  4. Plan your variables and their purposes

Use Consistent Coding Patterns

Develop standard approaches for common tasks:

Movement Pattern:

Bash
when [right arrow] key pressed
change x by 10
if touching color [red] then
  change x by -10
end

Scoring Pattern:

Bash
when I receive [point scored]
change [score] by 1
if [score] > [high score] then
  set [high score] to [score]
end

Regular Testing During Development

Don’t wait until your project is complete to test:

  • Test new features immediately after adding them
  • Run your project after every major change
  • Keep a simple checklist of core functions to verify

Documentation and Comments

Even in Scratch, documentation matters:

  • Name sprites descriptively (“Player,” “Enemy1,” “PowerUp”)
  • Use the comment feature for complex logic
  • Keep a simple “README” comment explaining your project’s goals

Real-World Debugging Examples

Let me share some actual debugging scenarios from my students’ projects:

Case Study 1: The Disappearing Sprite

Problem: In a snake game project, the snake head would randomly disappear.

Investigation Process:

  1. Added “say” blocks to track sprite position
  2. Discovered x-coordinate was becoming extremely large
  3. Found the culprit: missing boundary check in movement code

Solution: Added boundary detection:

Bash
if [x position] > 240 then
  set x to -240
end

Lesson Learned: Always include boundary checks for moving sprites.

Case Study 2: The Infinite Score Bug

Problem: Score in a trivia game kept increasing even with wrong answers.

Root Cause: The “change score by 1” block was outside the “if correct answer” condition.

Fix: Moved the scoring block inside the correct conditional structure.

Case Study 3: The Silent Music Player

Problem: A music player project showed notes but played no sound.

Discovery: The “play sound” blocks were there, but the sound files weren’t properly imported.

Resolution: Re-imported sound files and tested each one individually.


Building Debugging Confidence in Young Learners

Based on my experience teaching thousands of young programmers, here are strategies to build debugging confidence:

Celebrate Bug Fixes

Every fixed bug is a victory! I encourage my students to:

  • Keep a “bug fix journal”
  • Share successful debugging stories with peers
  • Understand that professionals debug constantly

Practice with Purpose

Regular debugging practice builds skills:

  • Try to break working programs intentionally, then fix them
  • Debug friends’ projects as practice
  • Work through coding challenges specifically designed for debugging

Learn from Mistakes

Transform frustration into learning:

  • Analyze why bugs occurred
  • Identify patterns in your common mistakes
  • Develop personal checklists for avoiding repeated errors

Tools and Resources for Continued Learning

  1. Scratch Desktop: Better performance for complex debugging sessions
  2. ScratchJr: Great for younger learners to practice basic debugging concepts
  3. Code.org: Additional debugging exercises and tutorials

Educational Resources

Community Support

  • Scratch Community Forums
  • Local coding clubs and summer camps
  • Online coding communities for kids

Preparing for Advanced Programming

Debugging skills in Scratch create a strong foundation for future programming languages:

Transferable Skills

The debugging mindset you develop in Scratch applies to:

Next Steps in Your Coding Journey

Consider exploring:

  1. Text-based programming: Transition from visual to written code
  2. Advanced projects: Build more complex applications
  3. Specialized areas: Web development, game design, or robotics

Conclusion and Next Steps

Debugging in Scratch isn’t just about fixing broken code—it’s about developing critical thinking, problem-solving skills, and the persistence that defines great programmers. Every bug you encounter is an opportunity to learn and grow stronger as a coder.

Remember these key takeaways:

Essential Debugging Principles:

  • Approach problems systematically
  • Use Scratch’s built-in debugging tools effectively
  • Practice regularly to build confidence
  • Learn from every bug you encounter

Your Debugging Action Plan:

  1. Start Today: Pick one of your existing Scratch projects and practice the debugging techniques from this guide
  2. Build Habits: Always test new code immediately and use descriptive variable names
  3. Join Communities: Connect with other young programmers to share debugging experiences
  4. Keep Learning: Explore advanced programming concepts as your skills grow

The journey from debugging simple Scratch projects to solving complex programming challenges starts with your very next project. Every bug you fix makes you a stronger, more confident programmer.

Ready to put these debugging skills to work? Start with a simple project, deliberately introduce a small bug, and practice the systematic debugging approach we’ve covered. You’ll be amazed at how quickly your problem-solving confidence grows!

Want to accelerate your coding journey? Explore ItsMyBot’s comprehensive coding programs designed specifically for young learners. Our expert instructors guide students through hands-on debugging practice, ensuring they develop strong foundational skills while having fun with technology.

Tags

Share

Preetha Prabhakaran

I am passionate about inspiring and empowering tutors to equip students with essential future-ready skills. As an Education and Training Lead, I drive initiatives to attract high-quality educators, cultivate effective training environments, and foster a supportive ecosystem for both tutors and students. I focus on developing engaging curricula and courses aligned with industry standards that incorporate STEAM principles, ensuring that educational experiences spark enthusiasm and curiosity through hands-on learning.

Related posts