Reading Time: 17 mins

Last week, one of my students asked me something that made me smile. “Can I make it rain in my game?” she said. “Like, actual rain that looks real?”
I get this question all the time. Kids see rain effects in games, weather apps, and animations everywhere. And they assume it’s some advanced, complicated thing that requires years of coding experience.
Here’s the truth: creating rainfall in Scratch is surprisingly simple. You don’t need to be a coding expert. You don’t need fancy extensions. You just need to understand one key concept: cloning.
And that’s exactly what I’m going to show you today.
I’ve been teaching kids to code for years now, and there’s something special about the moment they successfully create their first rainfall effect.
It’s not just that it looks cool. It’s that it clicks. The concept of creating one sprite and then making copies of it that all behave independently? That’s a fundamental programming concept that shows up everywhere in real coding.
Plus, it’s incredibly satisfying. You write maybe 15 blocks of code, press the green flag, and boom, you’ve got realistic looking rain falling down your screen.
The best part? Once you understand how to make rain, you can apply the same logic to create snow, stars, confetti, leaves falling from trees, or any other particle effect you can imagine.
By the time you finish reading this, you’ll know exactly how to:
This isn’t a copy and paste tutorial where I just give you code blocks and you’re confused about why they work. I’m going to explain the logic behind each step so you actually understand what’s happening.
Whether you’re building a weather simulation, adding atmosphere to a game, or just want to learn how cloning works in Scratch, this guide has you covered.
Before we start building, let’s talk about why cloning is the secret sauce that makes rainfall possible.
Think about real rain for a second. There are hundreds, maybe thousands of individual raindrops falling at the same time. Each one starts at the top of the sky and falls to the ground. They don’t all start at the exact same moment, and they don’t all fall at the exact same spot.
If you tried to create this by making hundreds of individual sprites, you’d go insane. You’d have to code each one separately, position each one, time each one. It would take hours and your project file would be massive.
Cloning solves this problem brilliantly, and if you want to dive deeper into how Scratch works as a platform, check out our complete guide on how to use Scratch. Here’s how cloning works:
You create one sprite, let’s call it the “original” or “parent” raindrop. This sprite contains all the code for how a raindrop should behave. How fast it falls. What it looks like. When it should disappear.
Then, instead of manually creating hundreds of copies, you use a special block called “create clone of myself.” This block creates an exact duplicate of your sprite. That clone runs through a special section of code that only affects clones, not the original.
You can create as many clones as you want. Each one behaves independently. And when you’re done with them, you delete them so they don’t clog up your project.
This is exactly how professional game developers create particle effects. The terminology might be different, but the concept is identical. In fact, understanding cloning is your gateway to creating all sorts of physics based games in Scratch where you need multiple objects behaving independently.
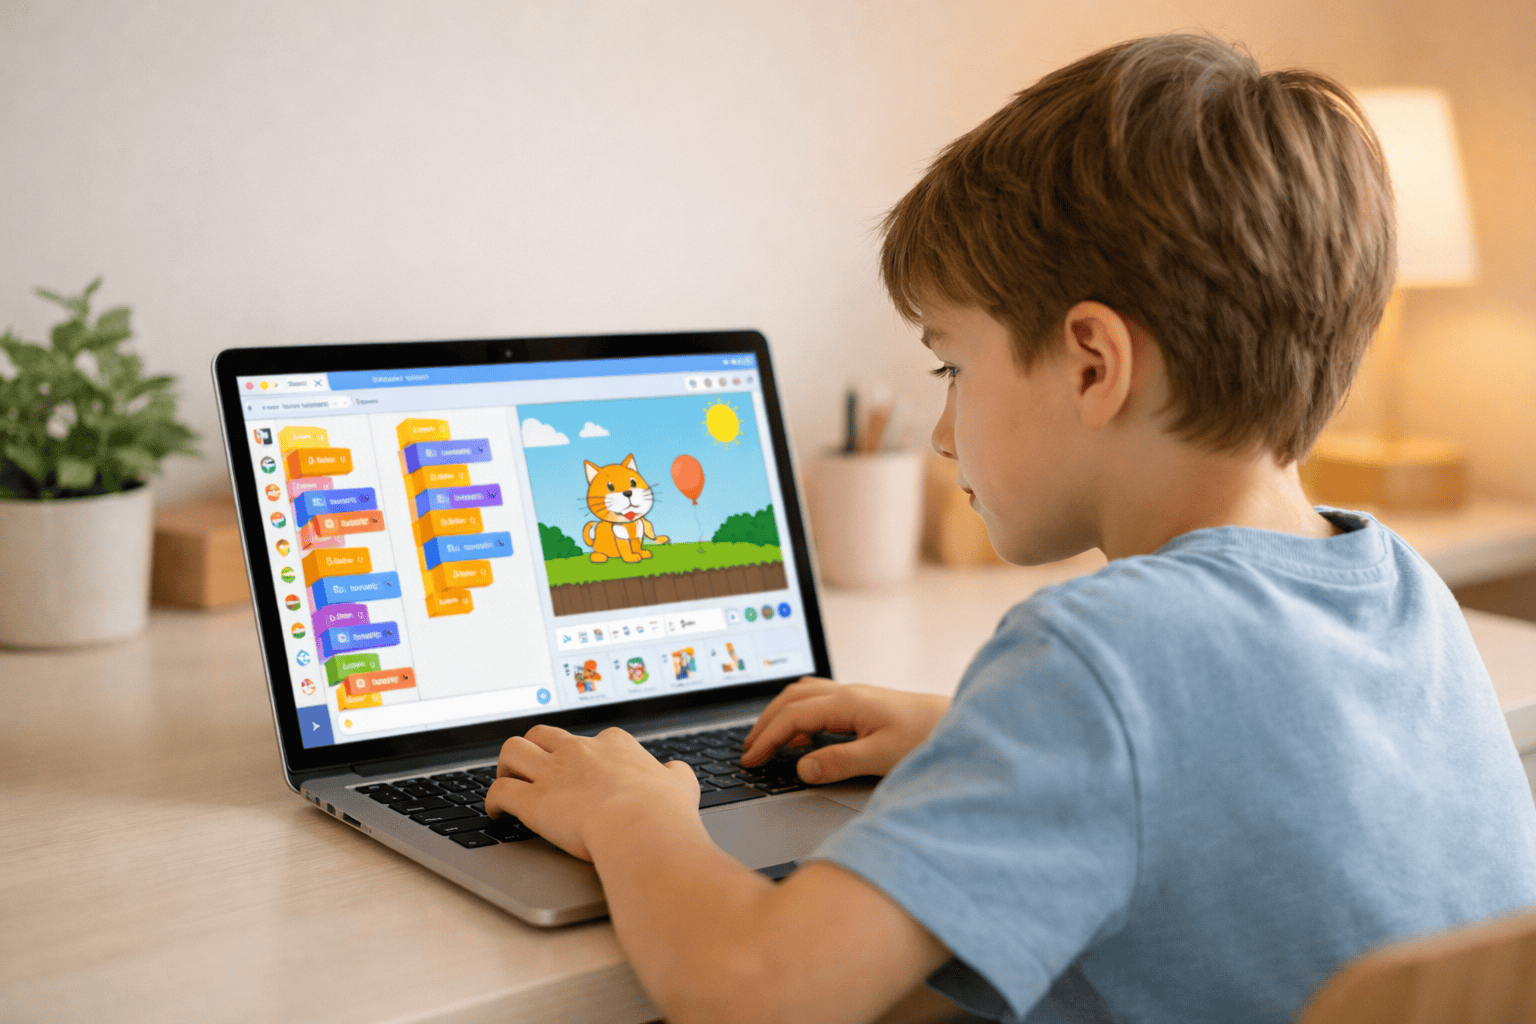
Let’s start simple. Open Scratch and create a new project. If you’re brand new to Scratch and haven’t set it up yet, our guide on how to set up Scratch 3.0 will get you started in just 10 minutes.
First, delete the cat sprite. We don’t need it for this project. Click the trash can icon on the cat sprite to remove it.
Now let’s create our raindrop. Click “Choose a Sprite” and then “Paint.” You’re going to draw a simple raindrop.
Here’s what I recommend: make it a light blue color (to look like water), and draw a thin, elongated oval. Think of it like a stretched out teardrop shape, about 5 pixels wide and 15 pixels tall.
Don’t overthink this. Rain doesn’t need to be artistic. A simple blue line or oval works perfectly fine. In fact, simpler is often better because it performs faster when you have hundreds of them on screen.
Name your sprite “Raindrop.” This keeps things organized, especially if you add more sprites to your project later.
Your backdrop matters because rain looks different against different backgrounds. A simple blue gradient sky works great. Go to “Choose a Backdrop” and select one of the sky options, or paint your own gradient from light blue at the top to slightly darker at the bottom.
If you’re adding rain to an existing game or project, just use whatever backdrop you already have. Rain works against pretty much any background.
Now comes the interesting part. We need to tell the original raindrop to continuously create clones of itself.
Click on your Raindrop sprite and go to the Code area. Start with this block:
when green flag clicked
This is how almost every Scratch project starts. It tells Scratch “when I click the green flag to start the project, do the stuff below.”
Next, add a forever loop. This block repeats whatever is inside it endlessly, until you stop the project.
Inside that forever loop, add:
create clone of [myself]
This is the magic block. Every time the code reaches this line, it creates a duplicate of your raindrop sprite.
But wait. If we just have this, it would create clones so fast that your computer would freeze. We need to slow it down. Add a “wait” block:
wait (0.1) seconds
This creates a small pause between each clone. The number 0.1 means it creates about 10 raindrops per second, which looks realistic. You can adjust this later. Smaller numbers create more rain, bigger numbers create less rain.
So your code so far looks like this:
when green flag clicked
forever
  create clone of [myself]
  wait (0.1) seconds
Right now, if you click the green flag, nothing visible happens. That’s because we’ve told Scratch to create clones, but we haven’t told the clones what to do yet.
This is where the “when I start as a clone” block comes in. This block is specifically for code that only runs on clones, not on the original sprite. If you want to understand more about the different types of blocks in Scratch and when to use each one, we have a comprehensive breakdown.
Add this block to your code area:
when I start as a clone
Under this block, we’re going to tell each raindrop clone exactly what to do when it appears.
First, position it at the top of the screen in a random location:
go to x: (pick random [-240] to [240]) y: [180]
This tells each raindrop to appear somewhere along the top of the screen. The x position is random (anywhere from the left edge to the right edge), and the y position is 180, which is the top of the standard Scratch stage.

Now, make it fall. Add a repeat until loop:
repeat until <touching [edge] ?>
Inside this loop, add:
change y by [-10]
This moves the raindrop down by 10 pixels each time the loop repeats. The negative number means it moves down (positive would move up).
Add another small wait to control the falling speed:
wait (0.03) seconds
This makes the rain fall at a realistic speed. Too fast looks weird. Too slow looks like snow.
Finally, after the repeat until loop, delete the clone when it reaches the bottom:
delete this clone
Your complete clone code should look like this:
when I start as a clone
go to x: (pick random [-240] to [240]) y: [180]
repeat until <touching [edge] ?>
  change y by [-10]
  wait (0.03) seconds
delete this clone
Click the green flag and watch what happens. You should see raindrops appearing at the top of the screen and falling down until they reach the bottom, then disappearing.
If you see this, congratulations! You’ve created your first rainfall effect in Scratch.
If you don’t see anything, check these common issues:
Nothing appears: Make sure your raindrop sprite is visible and not too small. Try making it bigger or a brighter color.
Raindrops appear but don’t fall: Check that you have the “change y by negative 10” block, not positive. Positive makes them fly up.
Everything freezes or lags: Your wait time in the clone creation loop is probably too small. Increase it to 0.2 or 0.3 to create fewer raindrops. If you’re consistently running into performance issues, you might want to check the system requirements for Scratch to make sure your device can handle it smoothly.
Rain falls sideways: This shouldn’t happen with the code above, but if it does, check your x and y coordinates are correct.
Basic rain is working, but let’s make it look better. Real rain doesn’t fall perfectly straight down, and raindrops aren’t all identical.
To make rain fall at an angle (like there’s wind), modify the falling code. Inside your repeat until loop, add:
change x by [2]
This makes the rain drift sideways as it falls, creating a wind effect. Use negative numbers for wind blowing left, positive for wind blowing right. Smaller numbers create light wind, bigger numbers create strong wind.
Right now, all raindrops fall at the same speed, which looks a bit robotic. To fix this, we can give each clone a slightly different falling speed.
At the very start of your “when I start as a clone” code, add:
set [speed] to (pick random [8] to [12])
Then replace your “change y by negative 10” with:
change y by (speed)
Make sure you’ve created a variable called “speed” first. Variables in Scratch are incredibly useful for storing information that changes, and they’re fundamental to coding in any language. If you want to understand variables more deeply, our guide on what is a variable in Python explains the concept in a way that applies to all programming.
This makes some raindrops fall slightly faster than others, which looks much more natural.
You can also make some raindrops appear larger or smaller. Add this to the start of your clone code:
set size to (pick random [80] to [120]) %
This makes each raindrop between 80% and 120% of its original size, adding visual variety.
Right now, rain starts as soon as you click the green flag and never stops. Let’s add some control.
Instead of starting rain automatically, make it start when you press a key. Replace your original code with:
when [space] key pressed
forever
  create clone of [myself]
  wait (0.1) seconds
Now rain only falls when you hold down the space bar.
To make rain stop, you need to break out of that forever loop. The easiest way is to use a variable as a control switch.
Create a variable called “raining” and set it to show on the stage (so you can see it change).
Modify your code like this:
when green flag clicked
set [raining] to [no]

when [space] key pressed
set [raining] to [yes]

when green flag clicked
forever
  if <(raining) = [yes]> then
    create clone of [myself]
    wait (0.1) seconds
Add another key to stop the rain:
when [s] key pressed
set [raining] to [no]
Now pressing space starts the rain, pressing S stops it.

Rain sounds make the effect so much more immersive. Scratch has built in sound effects you can use.
Click on your Raindrop sprite, go to the Sounds tab, and click “Choose a Sound.” Search for “rain” and you’ll find some rain sound effects.
Add this to your main code:
when green flag clicked
forever
  if <(raining) = [yes]> then
    start sound [rain sound]
    wait (0.5) seconds
This plays a rain sound on repeat while it’s raining. Adjust the wait time based on how long your sound clip is.
Once you’ve got basic rain working, here are some cool things you can experiment with:
Create a second sprite that looks like a puddle. When raindrops hit the ground (when they touch edge or reach a certain y position), send a broadcast message. Have the puddle sprite listen for that message and slowly grow bigger.
If you’re not familiar with broadcast messages yet, they’re one of the most powerful features in Scratch for making sprites communicate with each other. Our tutorial on how to use broadcast messages in Scratch will show you exactly how to set this up.
Add random flashes by creating a white backdrop that occasionally shows for a split second. Pair this with a thunder sound effect for dramatic weather.
Create three different variables: light rain, medium rain, and heavy rain. Each one creates clones at different speeds (different wait times in the creation loop).
Change your raindrop sprite to a white circle. Make it fall slower (change y by negative 3 instead of negative 10). Add a gentle drift left and right using the “change x” block inside the falling loop. Boom, you’ve got snow.
Want to make your sprites move even more smoothly? Check out our guide on how to move sprites smoothly in Scratch for advanced movement techniques.
After teaching this to hundreds of students, I’ve seen the same mistakes over and over. Here’s how to avoid them. And if you want to get better at finding and fixing errors in general, our comprehensive debugging in Scratch guide covers systematic approaches to troubleshooting any coding problem.
Mistake: Creating too many clones If your project starts lagging or freezing, you’re creating clones too fast. Increase the wait time in your clone creation loop to 0.2 or even 0.5 seconds.
Mistake: Forgetting to delete clones Every clone you create stays in memory until you delete it. Always include “delete this clone” at the end of your clone behavior code. Otherwise you’ll eventually have thousands of invisible raindrops using up memory.
Mistake: Making the raindrop sprite too large Bigger sprites mean more processing power needed. Keep your raindrop simple and small. You can make it bigger later if needed, but start small.
Mistake: Using “hide” instead of “delete this clone” Hide just makes the sprite invisible. It’s still there, using memory. Delete this clone actually removes it from the project.
At ItsMyBot, we teach rainfall effects as part of our broader curriculum on particle systems and cloning. It’s amazing to see what kids do with this knowledge.
One student created an entire weather simulation where you could switch between sunny, rainy, snowy, and stormy conditions. Another built an adventure game where rain makes platforms slippery and harder to jump on. If you’re interested in building games with more complex mechanics, learning how to make a platformer in Scratch is a natural next step after mastering particle effects like rain.
The beauty of our one on one instruction is that when a student learns this technique, we immediately help them apply it to their own unique project ideas. The instructor adapts the lesson based on what the student actually wants to build.
If your child is working through this tutorial and getting stuck, or if they want to take it further than what’s written here, that’s exactly what our instructors are for. We don’t just teach generic tutorials. We meet kids where they are and help them build what they’re excited about.
Here’s what I want you to understand: this isn’t just about making a visual effect. This is about learning how to think programmatically.
The clone concept you’ve learned here is used in real game development, web applications, and software engineering. The idea of creating a template object and then instantiating multiple copies? That’s object oriented programming. If you’re curious about what coding looks like in other languages, learning how to code in Python is a natural progression from Scratch.
The logic of having an original that spawns copies, where each copy behaves independently? That’s fundamental to how most games and simulations work.
So when your child successfully creates rainfall in Scratch, they’re not just making something cool looking. They’re learning concepts that will transfer directly to JavaScript, Python, Unity, and any other platform they might code on in the future.
And that’s why I love teaching this project. It’s fun, it’s achievable, and it’s genuinely useful.
If things aren’t working, here’s a quick checklist:
Rain appears in one spot instead of random locations Check your “go to x: (pick random)” block. Make sure it’s actually using “pick random” and not a fixed number.
Rain doesn’t stop when you want it to Check that your “raining” variable is properly connected to both the start and stop controls. Test by clicking the variable on stage to make sure it’s changing when you press the keys.
Computer freezes or runs very slowly Too many clones being created. Increase the wait time in your creation loop and make sure you’re deleting clones when they reach the bottom.
Raindrops disappear too early Your “touching edge” condition might be triggering too soon if you’ve made the raindrop sprite very large. Try using a y position check instead: “repeat until y position less than negative 180.”
Once you’ve mastered basic rainfall, here are project ideas to try:

I hope you can see that creating rainfall in Scratch isn’t some mysterious advanced technique. It’s actually a perfect beginner to intermediate project that teaches valuable programming concepts.
The beauty of Scratch is that it makes these complex ideas visual and accessible. You don’t need to understand memory management or complex syntax. You just need to understand the logic: create a thing, make copies of it, tell those copies what to do, and clean them up when you’re done.
If you or your child are working through this and finding it exciting, that’s a great sign. It means the logical thinking required for coding is clicking. And if you’re finding it frustrating, that’s also normal. Coding is fundamentally about solving problems and debugging when things don’t work as expected.
The difference between someone who succeeds at coding and someone who gives up often comes down to having support when things get confusing. That’s where quality instruction makes all the difference. Many parents wonder about the right time to introduce coding, and if you’re curious whether your child is ready, our guide on the best age for kids to start coding can help you make that decision.
At ItsMyBot, our instructors have walked hundreds of students through projects like this. They know exactly where kids get stuck, they can explain concepts in multiple different ways, and they can help troubleshoot in real time. Most importantly, they can help your child take this foundation and build something uniquely theirs.
Whether you’re here just to learn how to make rain, or you’re exploring whether coding might be something your child would enjoy learning seriously, I hope this guide has been helpful.
Now go make it rain.
Why does my rain fall upward instead of down?
This happens when you use a positive number in your “change y by” block instead of a negative number. In Scratch, positive y values move up, negative y values move down. Make sure your falling code uses “change y by negative 10” not positive 10. It’s an easy mistake to make, especially if you’re used to other coordinate systems.
How do I make rain fall faster or slower?
There are two ways to control rain speed. First, you can change the number in your “change y by” block. Bigger negative numbers make rain fall faster (like negative 15 instead of negative 10). Second, you can adjust the wait time inside your falling loop. Smaller wait times make rain fall faster because there’s less pause between movements. Start with “wait 0.03 seconds” and adjust from there.
Can I make rain fall at an angle like there’s wind?
Absolutely. Inside your repeat until loop where the rain falls, add a “change x by” block along with your “change y by” block. Use small positive numbers to make rain drift right (like change x by 2), or negative numbers to drift left (like change x by negative 2). The bigger the number, the stronger the wind effect. You can even use a random number here to make wind gusts vary.
My computer is freezing when I run the rain. What’s wrong?
You’re creating too many clones too quickly. In your clone creation loop, increase the wait time. Instead of “wait 0.1 seconds,” try “wait 0.3 seconds” or even higher. Also make sure you have “delete this clone” at the end of your clone behavior code. If you forget this, clones never get removed and they pile up until your computer can’t handle it. Finally, make sure your raindrop sprite isn’t too large or complex.
How do I make the rain stop and start with button presses?
Use a variable as a control switch. Create a variable called “raining” and set it to “no” when the green flag is clicked. Use “when space key pressed, set raining to yes” to start rain, and “when s key pressed, set raining to no” to stop it. Then wrap your clone creation in an if statement that checks if raining equals yes. This way clones only get created when the variable is set to yes.
Can I use this same technique to make snow or stars?
Yes! The cloning technique works for any particle effect. For snow, change your raindrop sprite to a white circle or snowflake shape, make it fall slower (change y by negative 3 or negative 4), and add gentle side to side movement (change x by pick random negative 2 to 2). For falling stars, use a star sprite, slow falling speed, and maybe add a glowing or spinning effect. The core logic is identical, you just change the sprite appearance and movement speeds. Once you master this, you can create all sorts of visual effects for games, and if you’re interested in game creation beyond Scratch, learning how to make a game in HTML opens up even more possibilities.
What if I want rain that creates puddles when it hits the ground?
Create a second sprite that looks like a puddle. In your raindrop clone code, right before “delete this clone,” add “broadcast rain hit ground.” Then in your puddle sprite, use “when I receive rain hit ground” to grow the puddle slightly (change size by 1 or 2 percent). You can also make the puddle shrink slowly over time to simulate evaporation. This creates a cool interactive weather system where rain visibly accumulates.