
Reading Time: 15 mins

Your child stares at the science fair announcement with a mix of excitement and worry. “Everyone’s doing volcano experiments again,” they sigh. You know they’re capable of something more — something that sparks curiosity and builds skills they’ll use for years.
Here’s the challenge: Traditional science fair projects often feel repetitive and don’t prepare kids for the tech-driven future they’re stepping into. Your child deserves better than copying experiments from a dusty textbook.
This guide shows you exactly how to help your child create a Python science fair project that impresses judges, teaches real coding skills, and makes learning feel like an adventure. We’ll walk you through beginner-friendly ideas, step-by-step setup instructions, and presentation tips that turn your child into a confident young developer.
Python stands out as the ideal programming language for student science fair projects. The language was designed with readability in mind, meaning your child can focus on solving problems instead of wrestling with confusing syntax.
Science fair judges love Python projects because they demonstrate:
Python’s simplicity makes it accessible for kids as young as 8. Unlike languages that require semicolons and complex punctuation, Python reads almost like English. Your child can write print("Hello, World!") and immediately see results.
The language also offers incredible versatility. Students can build everything from data analysis tools to interactive games to AI-powered chatbots using Python’s extensive library ecosystem. For deeper insights into Python’s capabilities, explore our guide on what Python is used for.
Science fair judges look for projects that connect to real-world problems. Python powers applications at companies like Google, NASA, and Netflix — giving your child’s project instant credibility.
Students can showcase how their Python project solves actual problems:
These practical applications demonstrate your child understands not just coding, but how technology shapes our world. If you’re interested in combining Python with physical computing, check out our collection of robotics science fair projects.
Selecting the perfect project makes the difference between frustration and excitement. Your child needs a project that challenges them without overwhelming their current skill level.
Start by asking what genuinely excites your child. Does your child love animals? Consider a project that tracks pet behavior or analyzes animal movement patterns. Fascinated by space? Build a planet simulation or asteroid tracker.
Projects aligned with personal interests keep motivation high when challenges arise. When your child hits a coding roadblock, their genuine curiosity about the topic will push them to find solutions.
For ages 8-10 (absolute beginners):
For ages 11-13 (developing skills):
For ages 14-16 (advancing programmers):
If your child is just starting their coding journey, our how to code in Python guide provides essential foundations.
Science fair success requires honest time assessment. Most winning Python projects need:
Never wait until the last week to start. Python is forgiving, but even simple projects need time for testing and iteration.
We’ve organized proven project ideas by complexity level to match your child’s current abilities. Each idea includes expected outcomes and learning opportunities.
Interactive Quiz Game
Students create a quiz that asks questions, checks answers, and keeps score. This project introduces fundamental programming concepts through a fun, engaging format.
Code example:
score = 0
question1 = input("What's 5 + 3? ")
if question1 == "8":
    print("Correct!")
    score = score + 1
else:
    print("Try again!")
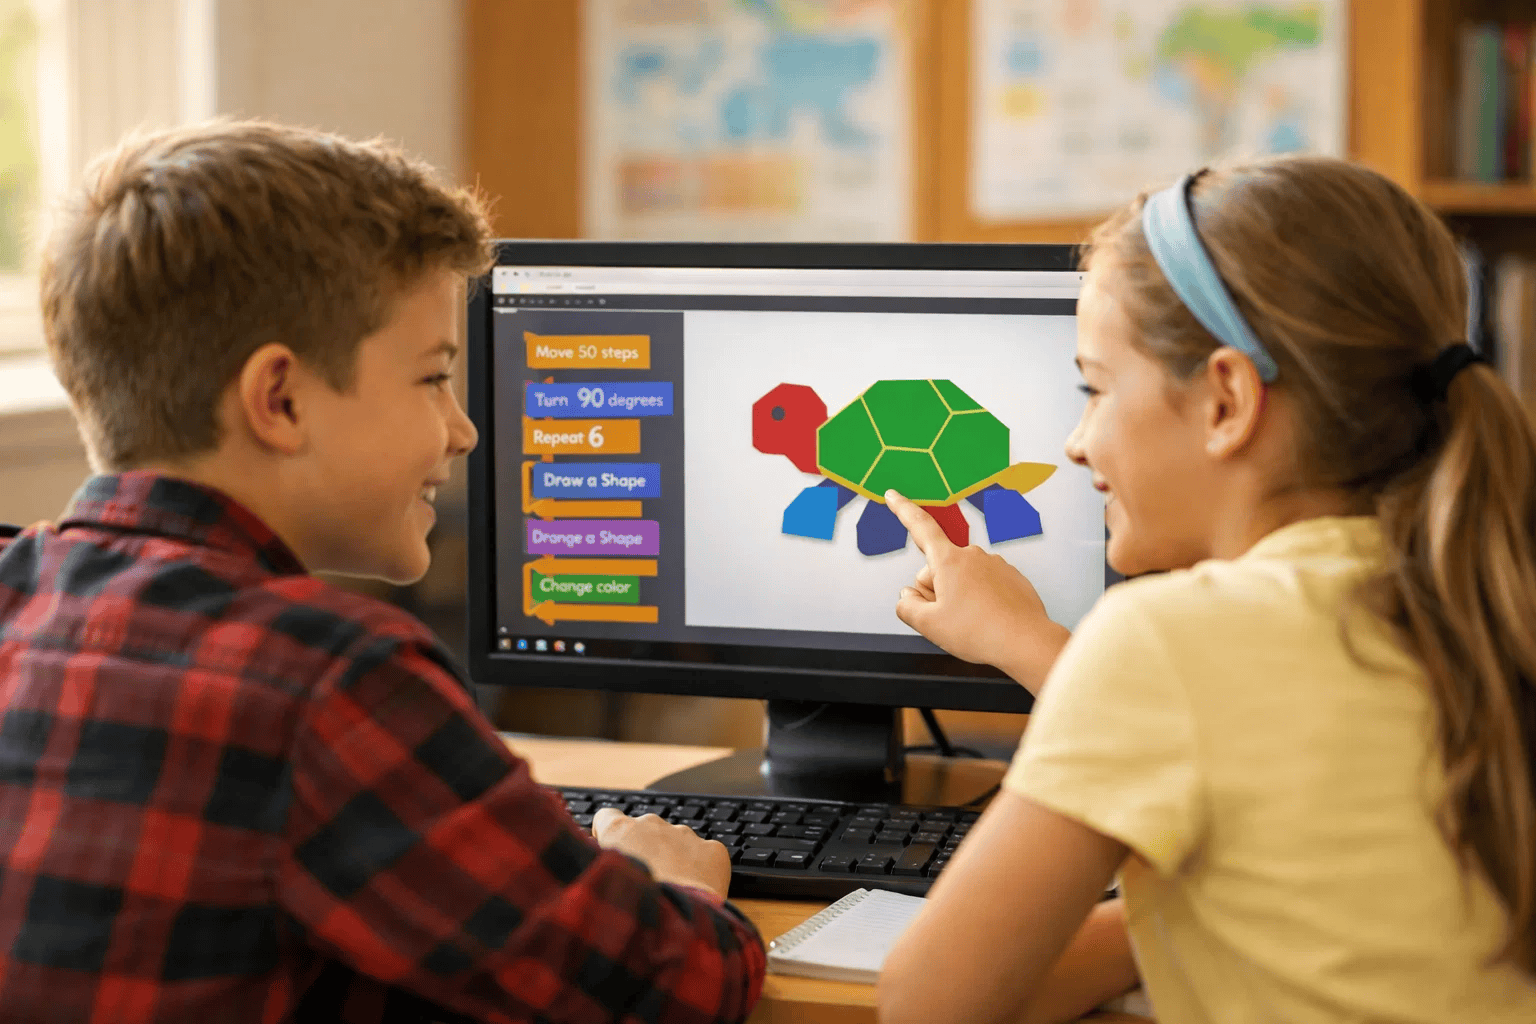
Simple Drawing Program Using Turtle Graphics
Your child programs the computer to draw shapes, patterns, or even simple pictures. This visual approach makes abstract coding concepts concrete.
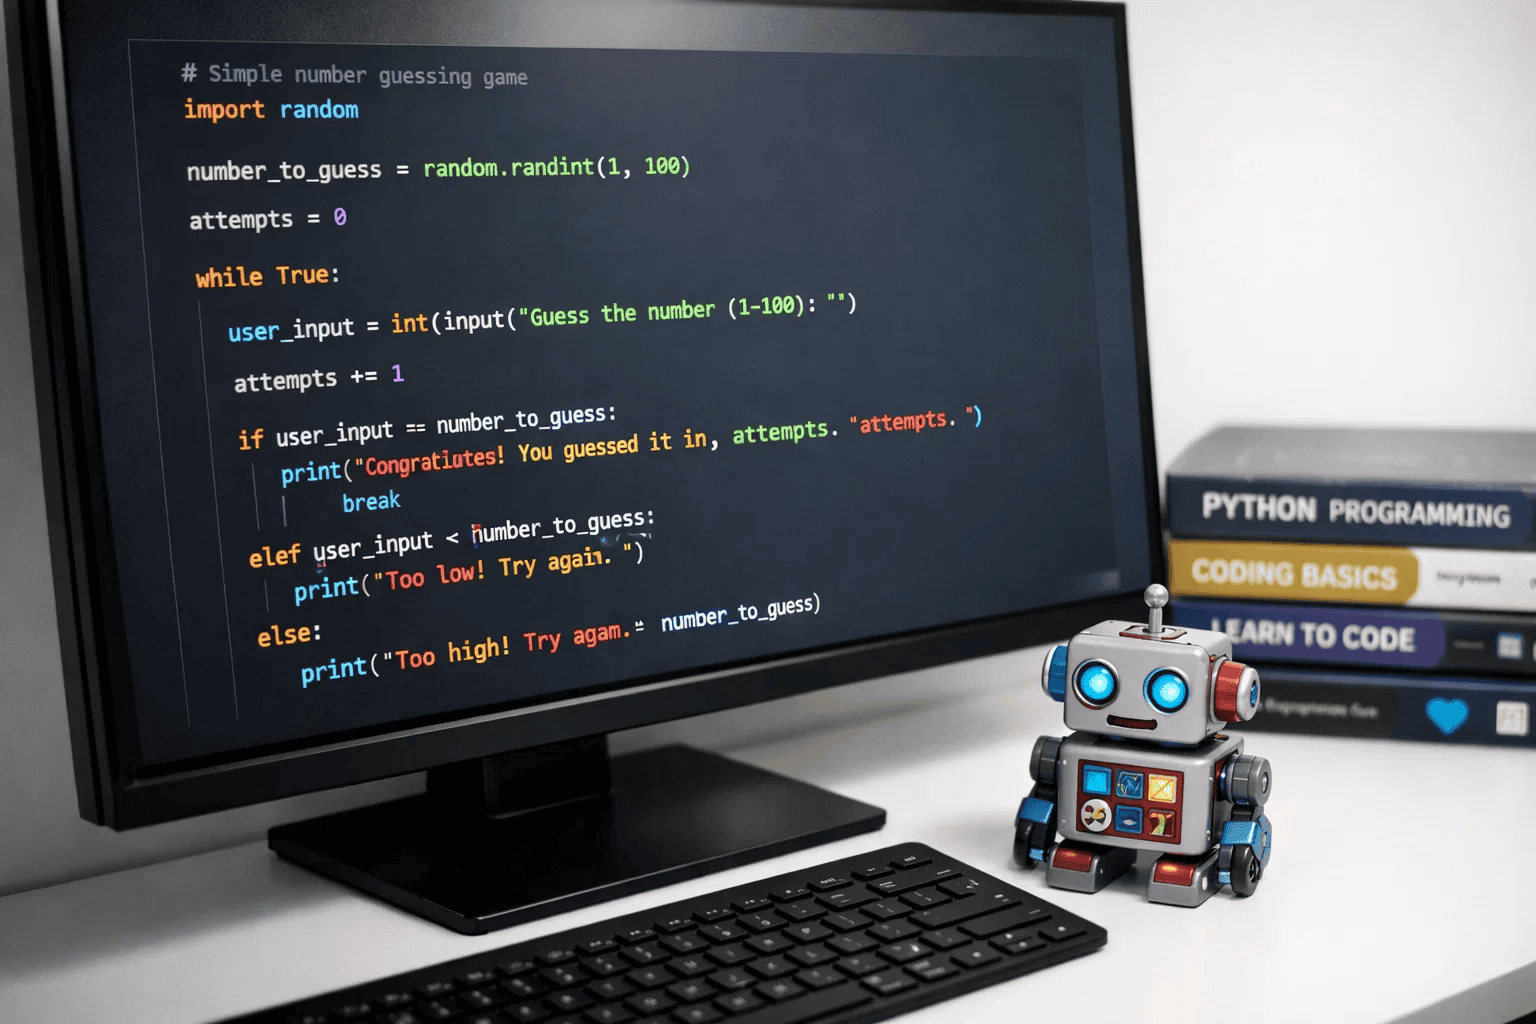
Number Guessing Game with Hints
Students build a game where the computer picks a random number and guides players with “higher” or “lower” hints. This project demonstrates how computers make decisions based on user input.
Password Strength Checker
Your child creates a program that analyzes passwords and rates their security. This practical application teaches cybersecurity basics while reinforcing coding fundamentals. For a complete walkthrough, see our password generator tutorial.
Weather Data Analyzer
Students download historical weather data and create graphs showing temperature trends, rainfall patterns, or seasonal changes. This project bridges coding with real scientific data analysis.
Tic-Tac-Toe Game with AI Opponent
Your child builds the classic game where a computer opponent makes strategic moves. This introduces basic artificial intelligence concepts through gameplay. Check our detailed tic-tac-toe guide for complete instructions.

Plant Growth Tracker with Data Visualization
Students monitor plant growth conditions and create visual reports showing how variables like light or water affect development. This combines biology, coding, and data science. The pandas library guide explains essential data handling techniques.
Sentiment Analysis Tool for Social Media
Your child builds a program that reads text and determines whether it expresses positive or negative emotions. This introduces machine learning concepts and real-world AI applications.
Interactive Science Simulation
Students create simulations of scientific phenomena like pendulum motion, projectile paths, or chemical reactions. Visual feedback helps others understand complex scientific concepts. Our Python GUI games guide provides essential interface-building skills.
For students ready to push boundaries, exploring AI science fair projects opens doors to cutting-edge computational thinking.
Setting up your Python environment correctly prevents frustration later. Follow these steps to ensure smooth project development.
Step 1: Download Python from python.org (choose version 3.9 or newer for best compatibility).
Step 2: During installation, check the box labeled “Add Python to PATH” — this crucial step lets you run Python from anywhere on your computer.
Step 3: Verify installation by opening your command prompt (Windows) or terminal (Mac/Linux) and typing:
python --version
You should see your Python version displayed. If not, reinstall and ensure you checked the PATH option.
Step 4: Install a code editor designed for beginners. We recommend:
Start with a simple program to test your setup. Create a new file named test.py and write:
# This is my first Python program
name = input("What's your name? ")
print("Hello, " + name + "!")
print("Welcome to Python!")
Run this program and celebrate when it works. This small success builds your child’s confidence before tackling more complex projects.
Professional programmers organize code from day one. Create this folder structure:
MyPythonProject/
├── main.py (your main program file)
├── README.txt (project description and instructions)
├── data/ (store any data files here)
└── images/ (save pictures or graphics here)
This organization helps when you need to find files quickly, especially during last-minute science fair preparations.
Many Python projects use libraries — pre-written code that adds extra functionality. Install libraries using pip (Python’s package manager).
Common libraries for science fair projects:
matplotlib — Creates graphs and chartspandas — Works with data tablestkinter — Builds graphical user interfaces (comes pre-installed)requests — Gets data from websitesInstall a library by typing in your terminal:
pip install matplotlib
Wait for installation to complete, then test by importing in Python:
import matplotlib.pyplot as plt
print("Library installed successfully!")
For data analysis projects, familiarize yourself with NumPy basics before diving into complex calculations.
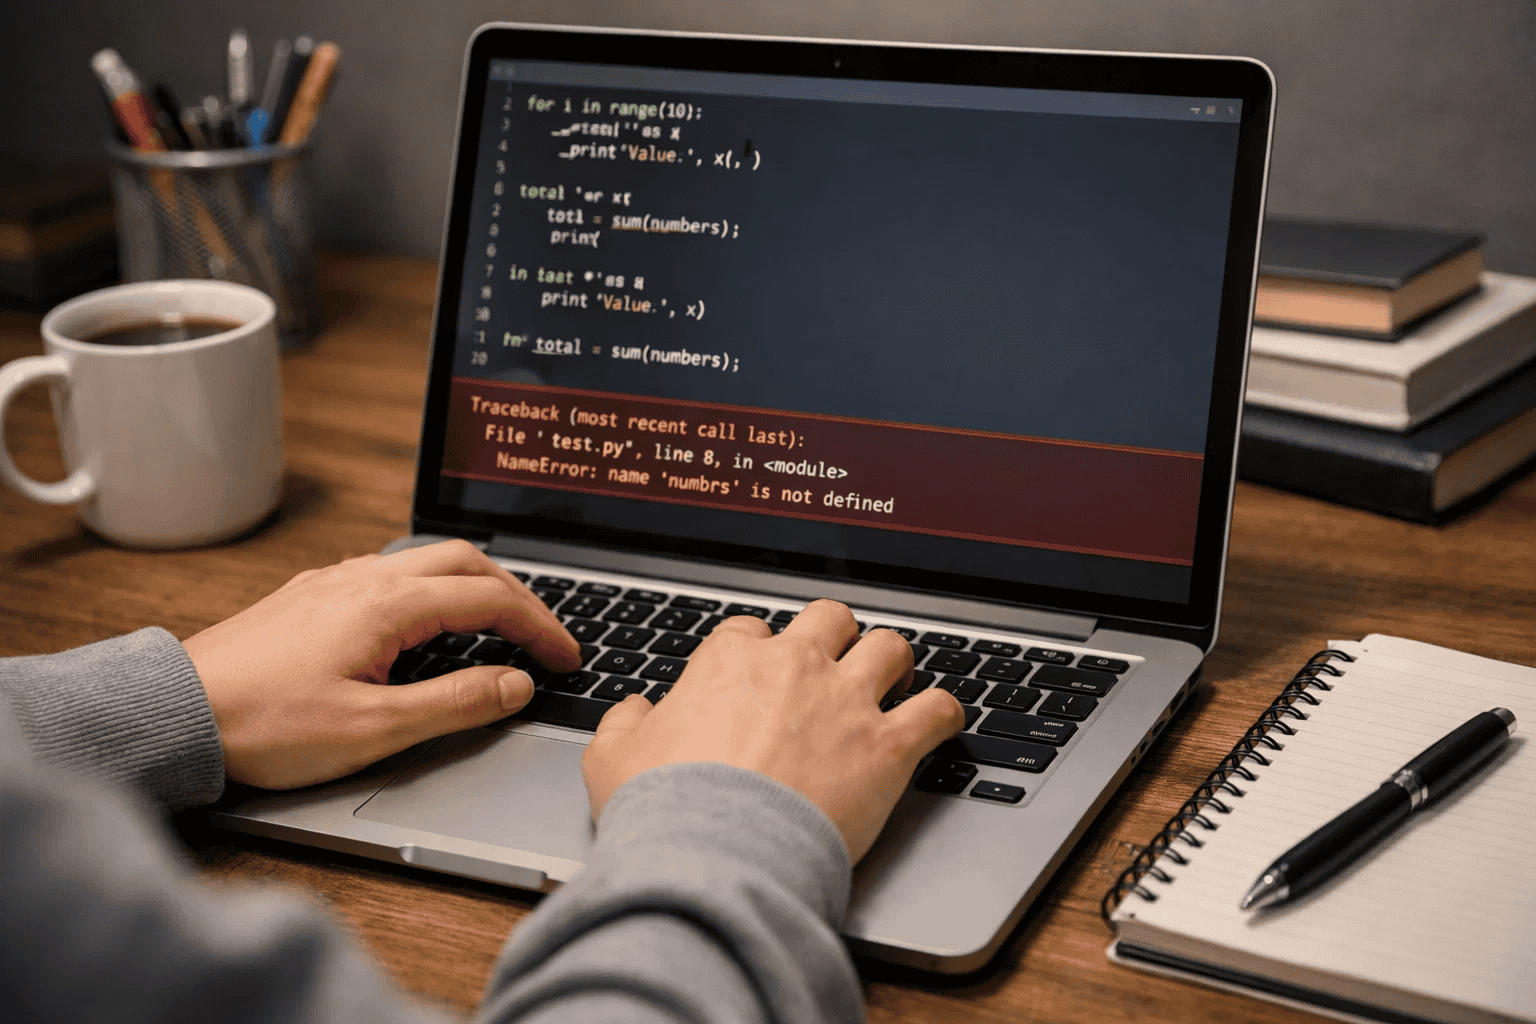
Every programmer encounters errors — it’s part of the learning process. Teach your child these debugging strategies:
Strategy 1: Read error messages carefully Python tells you exactly what went wrong and which line caused the problem. Error messages are helpful clues, not failures.
Strategy 2: Test small sections at a time Don’t write 100 lines before testing. Run your code after adding just 5-10 new lines to catch problems early.
Strategy 3: Use print statements to check variables When something doesn’t work, add print() statements to see what your code is actually doing:
temperature = 75
print("Current temperature:", temperature)  # Check the value
if temperature > 80:
    print("It's hot!")
Strategy 4: Compare working code to broken code If something stops working, compare your current version to the last working version. What changed?
Learning from others’ mistakes saves your child hours of frustration. We’ve seen these errors repeatedly in student Python projects.
The Problem: Students choose projects far beyond their current skill level, leading to overwhelming frustration.
Why it’s problematic: When every line of code requires help, your child never experiences the joy of independent problem-solving. Confidence drops, and science fair becomes a chore rather than an achievement.
Correct approach: Start with the simplest version of your idea. Build a basic calculator before attempting a graphing calculator. Create a simple guessing game before adding AI opponents. Success with simple projects builds the confidence needed for complex ones.
The Problem: Students write code without adding explanatory comments, making debugging and presentations impossible.
Why it’s problematic: Two weeks after writing code, your child won’t remember why they chose specific logic. During science fair presentations, judges ask “Why did you code it this way?” Comments provide instant answers.
Correct approach: Write comments that explain your thinking:
# Calculate average temperature from daily readings
total = sum(temperatures)  # Add all temperatures together
average = total / len(temperatures)  # Divide by number of days
Good comments help judges understand your child’s thought process and demonstrate thorough scientific methodology.
The Problem: Students save projects on only one device without backups, risking catastrophic data loss.
Why it’s problematic: Computer crashes, accidental deletions, or corrupted files can destroy weeks of work in seconds. We’ve seen students cry at science fairs because their project disappeared the night before.
Correct approach: Implement a three-layer backup strategy:
Professional developers use version control systems like Git. Consider teaching your older child GitHub basics for bonus presentation points.
The Problem: Students write entire programs before running any tests, discovering hundreds of errors all at once.
Why it’s problematic: When 50 things don’t work, identifying which line causes problems becomes nearly impossible. Fixing one error often reveals five more.
Correct approach: Run your code after adding just 10-15 lines. Test each new function immediately. When something breaks, you know exactly what changed since it last worked.
The Problem: Students paste code from websites without understanding how it works, then can’t explain their project to judges.
Why it’s problematic: Science fair judges ask specific questions about your code. If your child can’t explain basic functions, judges assume the parent did the work. Project disqualification often follows.
Correct approach: If using tutorial code, rewrite it line by line instead of copying. Add your own comments explaining each section. Change variable names to make sense for your specific project. This process transforms borrowed code into understood code.
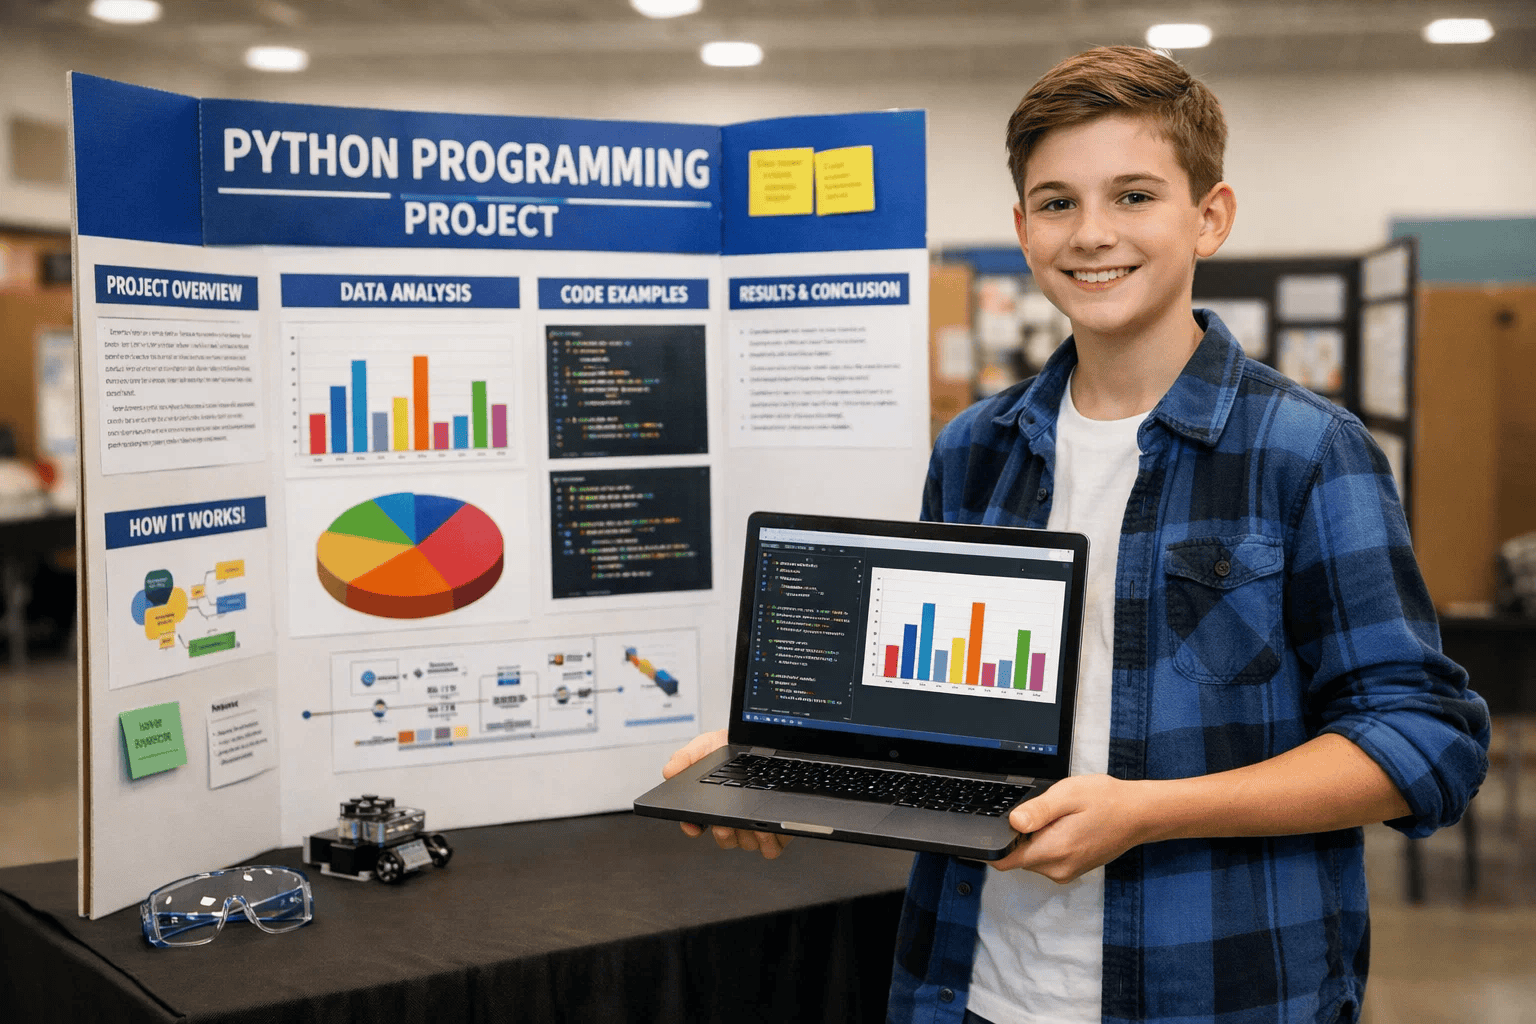
A brilliant project presented poorly loses to a simple project presented well. Help your child showcase their hard work with these presentation strategies.
Your display board tells your project’s story visually. Effective boards follow this layout:
Left Panel: The Problem
Center Panel: Your Solution
Right Panel: Results and Conclusion
Design tips that work:
Create a project binder containing:
Page 1: Project Summary (one page maximum) Explain your project in language a non-programmer understands. Include your project’s purpose, methods, and findings.
Pages 2-3: Code Explanation Break down your most important functions with comments explaining how they work. Don’t include every line — focus on the clever or complex parts.
Pages 4-5: Testing Results Show screenshots or data proving your program works correctly. Include examples of both successful operations and how you handled errors.
Page 6: Challenges and Solutions Describe specific problems you encountered and how you solved them. Judges love seeing problem-solving processes, not just polished final products.
Page 7: Bibliography List tutorials, websites, books, or mentors who helped you learn. Proper citations demonstrate academic integrity.
Practice your demonstration until you can run it smoothly while explaining. Follow this structure:
Step 1: Quick introduction (30 seconds) “My project analyzes weather data to predict temperature trends. I’ll show you how it works.”
Step 2: Live demonstration (2 minutes) Run your program, showing real inputs producing real outputs. Explain what happens at each step without reading from notes.
Step 3: Code walkthrough (1 minute) Point out 2-3 interesting code sections. Explain your logic: “I used a loop here because I needed to check each temperature reading.”
Step 4: Answer questions confidently If you don’t know an answer, say “That’s a great question. I didn’t test that scenario, but here’s what I think would happen…” Honesty impresses judges more than fake expertise.
Judges typically ask these questions:
Prepare honest answers in advance. Practice explaining technical concepts using everyday comparisons. For example: “This loop works like checking every student in class — you look at one, record information, then move to the next.”
Judges remember projects they can touch and experiment with. Make your project interactive:
Interactive projects demonstrate confidence in your code and engage judges more deeply than passive displays.
Student: Maya, age 13, no prior programming experience
Initial Challenge: Maya wanted to create something unique for her eighth-grade science fair but felt intimidated by coding. Her initial project idea — building a weather prediction system — seemed impossibly complex.
Solution Implemented:
Week 1-2: Maya started with our beginner Python tutorials, learning basic syntax through simple exercises. Instead of jumping directly to weather analysis, she built confidence with smaller projects like calculators and quiz games.
Week 3: She downloaded one month of historical temperature data from her city’s weather service and learned to import it into Python using the pandas library.
Week 4: Maya created her first basic graph showing daily temperature changes. Seeing her data visualized sparked excitement that carried her through challenges ahead.
Week 5: She added features comparing this year’s temperatures to historical averages, identifying unusual weather patterns. Her code grew from 20 lines to 150 lines with proper comments explaining each section.
Week 6: Maya designed her display board, practiced her demonstration, and prepared answers to potential judge questions.
Results Achieved:
Key Success Factors:
Maya’s success came from starting simple rather than attempting her final vision immediately. She tested every feature thoroughly before adding complexity. Most importantly, she chose a topic (weather) that genuinely interested her, keeping motivation high during challenging debugging sessions.
Children as young as 8 can start with basic Python projects using visual tools like turtle graphics. Ages 10-13 typically work on intermediate projects involving data analysis or simple games. Ages 14+ can tackle advanced projects including machine learning or complex simulations. Success depends more on interest level and dedication than age alone.
Most quality Python projects require 4-6 weeks from initial planning to final presentation. Beginner projects might finish in 2-3 weeks, while advanced projects with complex features could take 8-10 weeks. Starting early allows time for learning, mistakes, improvements, and practice presentations without last-minute stress.
Most Python science fair projects run on any modern computer (Windows, Mac, or Chromebook) with internet access. Advanced projects might benefit from additional hardware like Raspberry Pi computers ($35-50), sensors for data collection ($10-30), or external displays. However, hundreds of impressive projects require only the computer your family already owns.
Absolutely. Judges increasingly value computational thinking and technological literacy. Well-executed Python projects demonstrate problem-solving, data analysis, and real-world application skills that traditional experiments often miss. The key is choosing a project that solves an actual problem rather than coding for its own sake.
Errors are normal and expected in programming. Start by reading error messages carefully — Python tells you exactly what’s wrong. Search the error message online, as millions of programmers have likely encountered identical issues. If stuck for more than 30 minutes, reach out to coding communities, teachers, or online forums where volunteers help students debug code.
Parents don’t need any coding experience to support their child’s Python project. Your role involves encouraging persistence, helping organize work schedules, and asking questions that deepen your child’s understanding. Many successful student programmers have parents who never touched code themselves. If you want to learn alongside your child, even better!.
Projects that solve real problems, demonstrate clear learning progression, and include thorough testing impress judges most. Add interactive elements judges can try themselves. Document your debugging process showing how you overcame challenges. Explain your code clearly using analogies non-programmers understand. Judges value understanding over complexity.
Using tutorials is completely acceptable and encouraged — professional programmers learn from online resources daily. The key is understanding what you copy rather than blindly pasting code. Rewrite tutorial code in your own words, add comments explaining each section, and adapt examples to your specific project. Always credit sources in your bibliography.
Python science fair projects open doors to your child’s future while making learning an exciting adventure. From simple quiz games to sophisticated data analysis tools, Python provides the perfect platform for students to demonstrate creativity, problem-solving, and technical skills.
Key takeaways for your child’s success:
Your child’s science fair journey starts with a single line of code. That first “Hello, World!” grows into confidence, skills, and opportunities you can’t imagine yet. Whether building games, analyzing data, or creating interactive simulations, Python projects teach resilience through debugging, logic through programming, and pride through creation.
We’re excited to support your family’s coding journey. At ItsMyBot, we turn screen time into skill time through personalized, hands-on Python courses that prepare kids for future-ready careers. Ready to transform your child’s potential into achievement? Explore our programs designed specifically for young learners ready to build, create, and succeed.


