
Watching your child spend hours drawing the same character in slightly different positions can feel frustrating. They’re passionate about animation, but the tedious frame-by-frame work often leads to incomplete projects and lost enthusiasm.
Without understanding tweening, kids miss out on creating smooth, professional animations. They get stuck in repetitive manual work instead of exploring creativity, storytelling, and advanced techniques that make their projects truly shine.
Tweening animation changes everything. This powerful technique automatically fills in the motion between two positions, turning your child’s simple ideas into polished animations. Ready to help your child master this game-changing skill? Let’s explore how tweening transforms screen time into creative skill-building time.
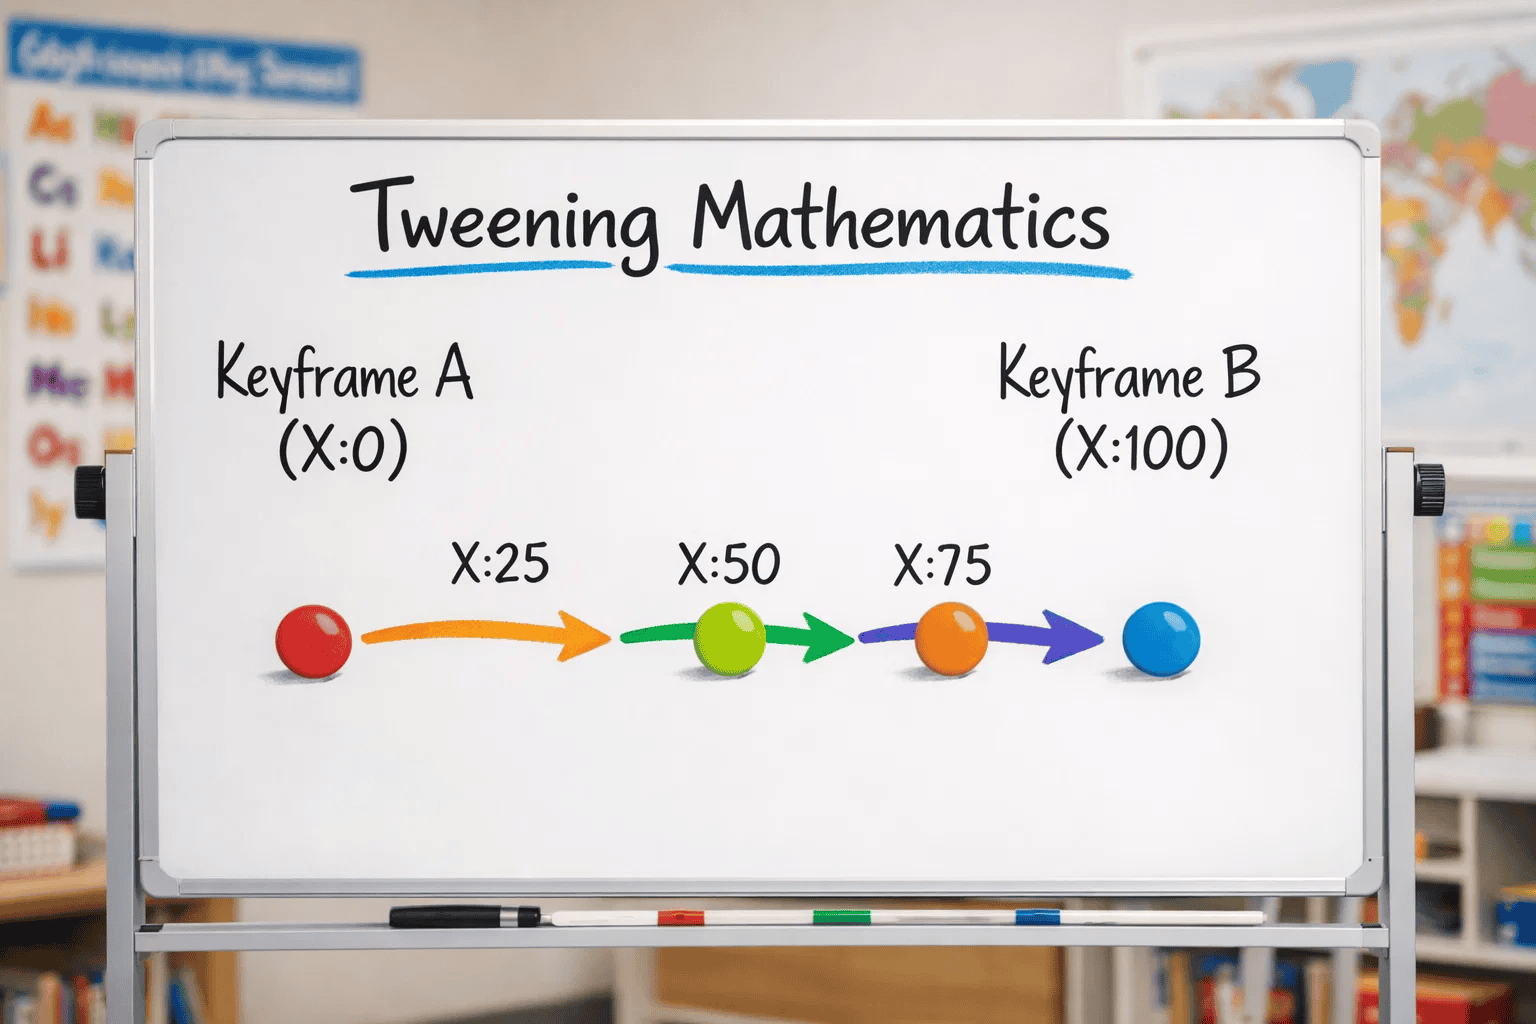
Tweening (short for “in-betweening”) is an animation technique that automatically generates intermediate frames between two keyframes. Instead of drawing every single frame manually, you set the starting position and ending position—the software handles everything in between.
Think of it like this: if your character needs to move from the left side of the screen to the right, you just tell the computer where to start and where to end. The magic happens automatically as the software creates all the smooth motion frames.
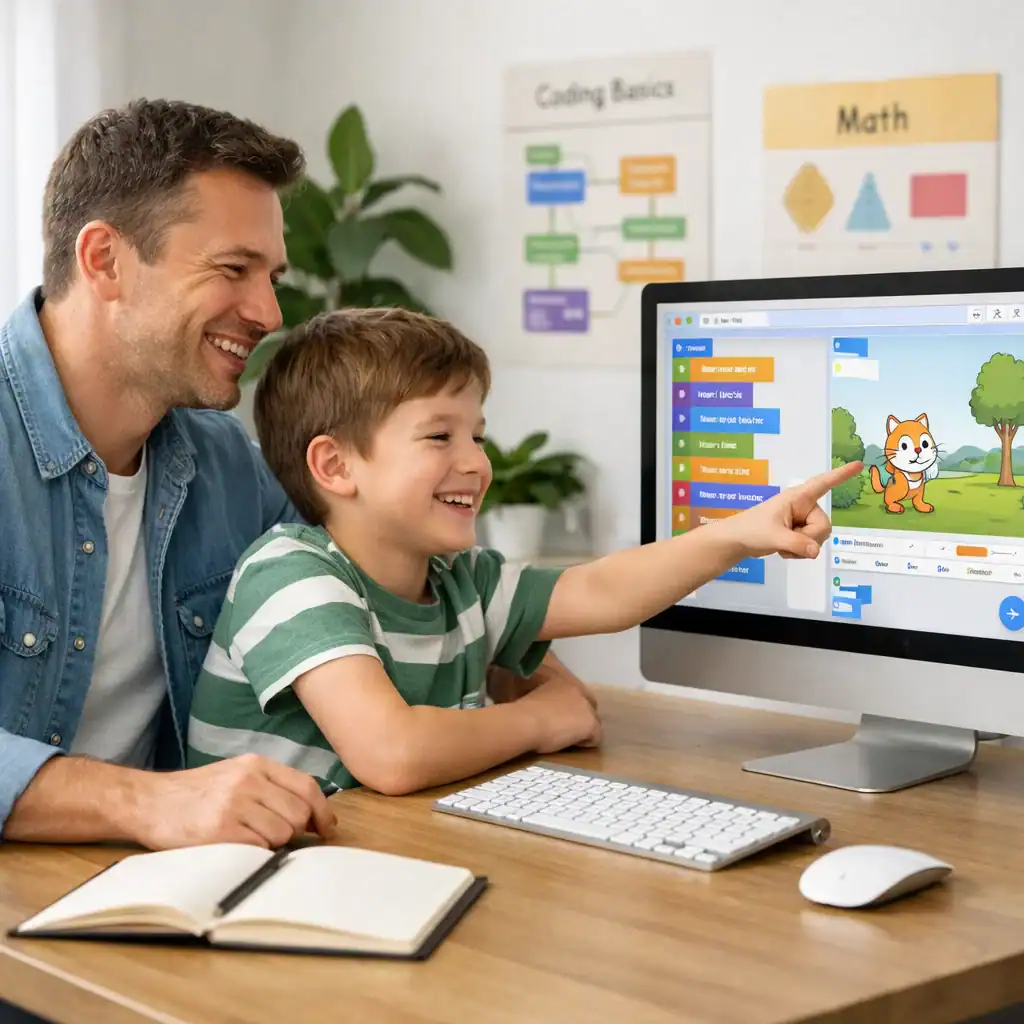
For kids already exploring Scratch programming, tweening represents a natural next step in creating more dynamic projects.
Keyframes serve as your animation’s anchors. These are the specific moments you define—like a character jumping from ground level to mid-air. You control exactly what happens at these critical points.
Interpolation is the computer’s automatic work between keyframes. The software calculates all the positions, rotations, and changes needed to create smooth transitions from one keyframe to the next.
Tweening isn’t just a shortcut—it’s a fundamental skill that opens doors to professional animation, game development, and digital creativity. Let’s explore why this technique matters for your child’s learning journey.
Professional animators use tweening in everything from movies to mobile games. When your child learns this technique now, they’re developing industry-standard skills that translate directly to future career opportunities.
Companies like Pixar, Disney, and major game studios rely on tweening principles. Your child isn’t just playing—they’re learning tools used by professionals earning six-figure salaries in creative fields.
Remember those abandoned animation projects? Tweening eliminates the tedious repetition that causes kids to give up. They can focus on storytelling, character development, and creative choices instead of drawing the same thing 100 times. Kids who master tweening often progress to more complex projects like creating interactive Scratch games with smooth character movements.
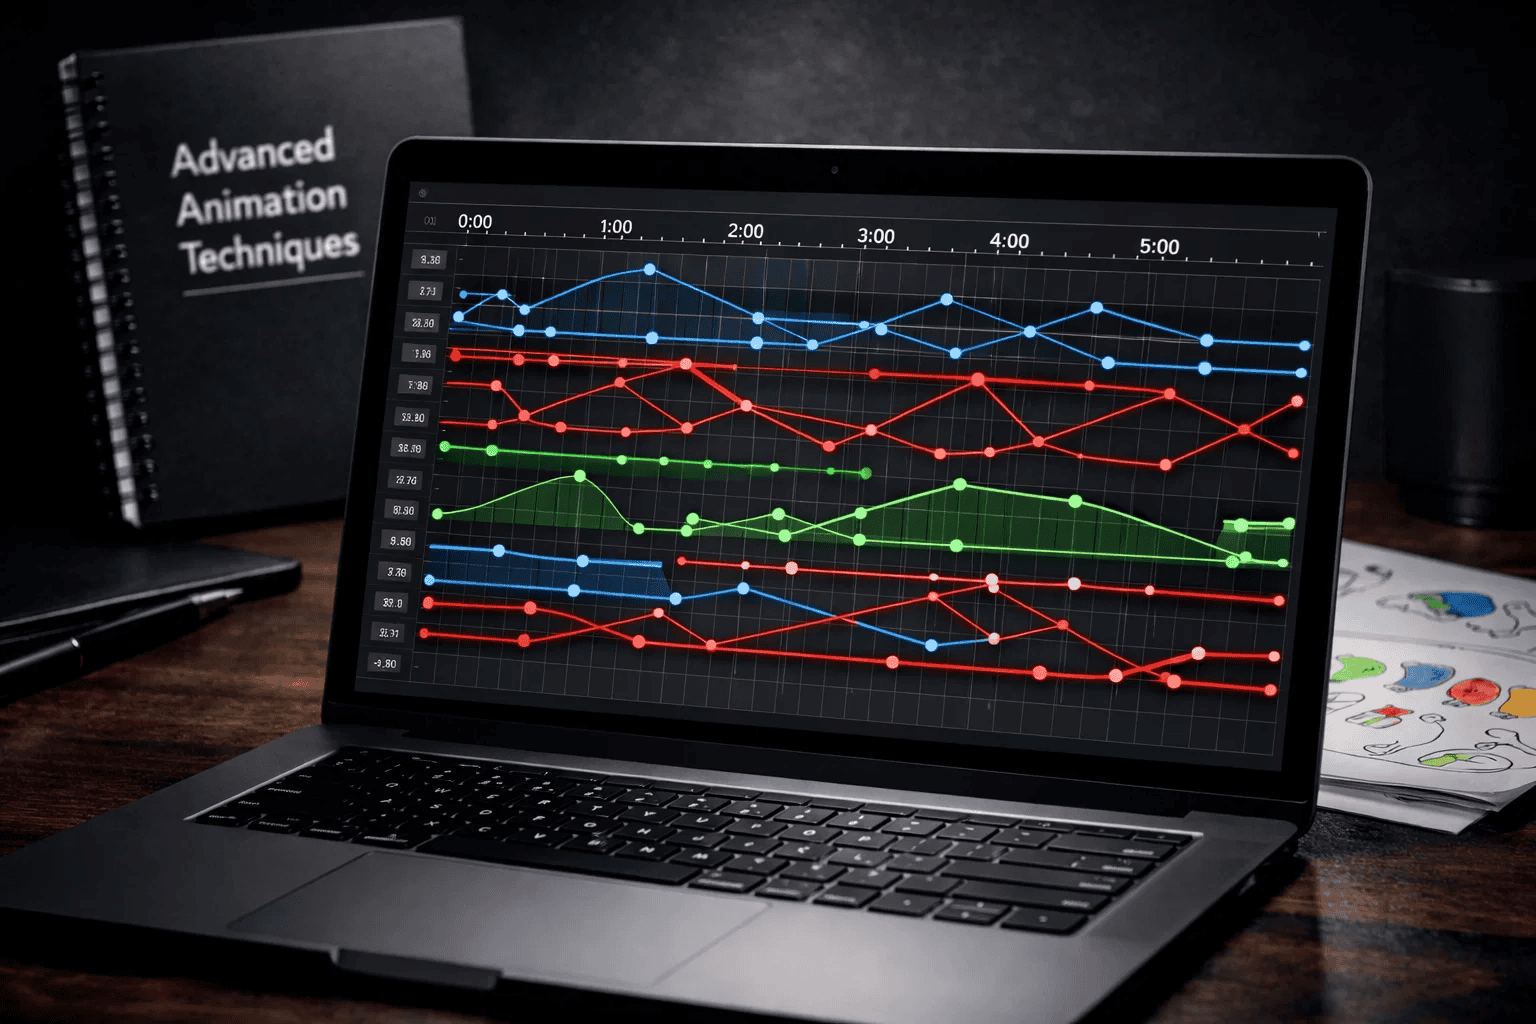
Understanding the technical foundation helps kids (and parents) appreciate why tweening creates such smooth, professional results. Let’s break down the science behind the magic.
When you create a tween, the computer performs calculations to determine every intermediate position. For example, moving an object from X position 0 to X position 100 over 10 frames means the computer calculates: 10, 20, 30, 40… automatically.
Linear interpolation is the simplest form—constant speed from start to finish. More advanced tweening uses easing functions that add acceleration or deceleration, making motion feel more natural and realistic.
Most animations run at 24-30 frames per second (fps). When your child sets a 1-second tween at 24 fps, the computer generates 22 frames between the two keyframes they created.
Understanding this relationship between time and frames helps kids plan their animations more effectively. Want slower motion? Increase the duration. Need snappier action? Reduce the frame count.
Different tweening types serve different creative purposes. Understanding each helps your child choose the right tool for their storytelling vision.
What it does: Moves objects smoothly from one location to another. This is the most common and fundamental type of tweening.
Perfect for:
Motion tweening forms the foundation of most Scratch game projects, especially platformers requiring smooth jumping and running.
What it does: Transforms one shape into another, creating smooth morphing effects. The software automatically calculates all intermediate shapes.
Perfect for:
What it does: Gradually changes colors over time, blending smoothly from one hue to another.
Perfect for:
What it does: Smoothly grows or shrinks objects, maintaining proportions automatically.
Perfect for:
What it does: Spins objects smoothly through specified degrees of rotation.
Perfect for:
Every young animator makes these mistakes—learning to recognize and fix them accelerates skill development dramatically.
Why it’s problematic: Using random durations makes animations feel jerky and unprofessional. A character that walks smoothly in one scene then teleports in the next breaks immersion.
✅ Correct approach: Establish timing rules for your project. If walking takes 2 seconds across the screen, keep that consistent throughout. This builds rhythm and professionalism.
Why it’s problematic: Linear motion (constant speed) looks robotic. Real objects accelerate when starting movement and decelerate when stopping.
✅ Correct approach: In advanced platforms, apply easing functions (ease-in, ease-out). In Scratch, break one long tween into multiple shorter tweens with varying speeds to simulate acceleration.
Why it’s problematic: Not every movement needs smooth interpolation. Sometimes quick, snappy movements create better effects—especially for impacts or sudden reactions.
✅ Correct approach: Use instant position changes (no tween) for impacts, teleportation, or quick reactions. Reserve smooth tweening for intentional, visible motion.
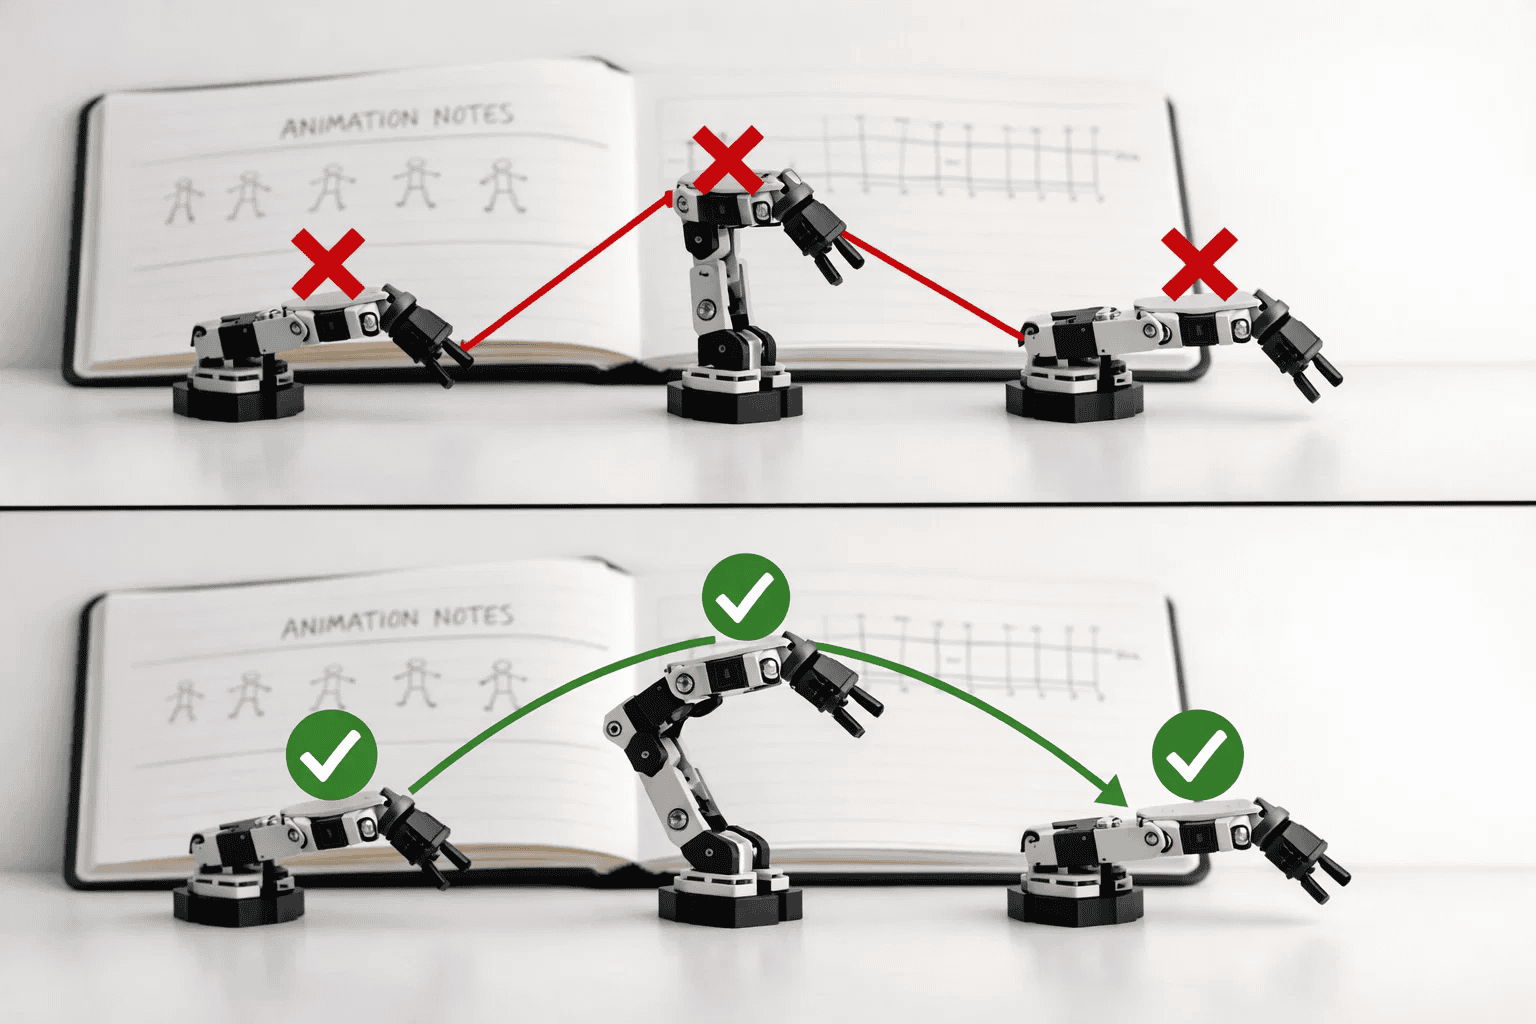
Why it’s problematic: Characters that move in perfectly straight lines between points look mechanical. Natural movement follows curved paths.
✅ Correct approach: Use multiple keyframes to create curved paths. Set intermediate points that guide motion along arcs rather than straight lines.
Why it’s problematic: Running multiple tweens on the same property simultaneously creates unpredictable results and breaks animations.
✅ Correct approach: Finish one tween before starting another that affects the same property (position, size, etc.). Or use different properties simultaneously—like moving position while changing size.
Why it’s problematic: Too many simultaneous tweens can slow down projects, especially on older devices. Your child’s amazing animation stutters instead of flowing smoothly.
✅ Correct approach: Limit concurrent tweens to 3-5 objects. For complex scenes, stagger animations so they don’t all run at once. This maintains smooth playback.
Choosing the right platform depends on your child’s age, experience level, and creative goals. Here’s our recommended progression:
Scratch 3.0 remains the gold standard for young learners. The glide blocks provide intuitive tweening without overwhelming complexity.
Pros:
New to Scratch? Start with our complete setup guide before diving into tweening.
Best for: First animations, simple games, educational projects
Adobe Animate (formerly Flash) offers professional-grade tools with kid-friendly interfaces. The timeline-based approach teaches industry-standard workflows.
Pros:
Best for: Aspiring professional animators, complex character animations, portfolio projects
PictoBlox combines block coding with advanced animation features, bridging the gap between Scratch and professional tools.
Blender provides 3D animation capabilities with sophisticated tweening systems called “keyframing.” This prepares students for film and game industry careers.
Best for: 3D animations, film projects, game asset creation
| Platform | Age Range | Tweening Features | Best For |
|---|---|---|---|
| Scratch | 8-11 | Glide blocks (motion tweening) | Beginners learning basics |
| PictoBlox | 10-13 | Enhanced motion + effects | Intermediate creators |
| Adobe Animate | 11-14 | Full professional suite | Serious young animators |
| Blender | 14+ | Complete 3D keyframing | Advanced 3D projects |
Once your child masters basic tweening, these advanced techniques unlock truly professional-quality animations.
Instead of one long tween, break movements into multiple sequential tweens. This creates more natural, realistic motion by allowing different speeds and paths at each stage.
Example: A character jumping:
Advanced platforms let you draw actual paths for objects to follow. The software automatically tweens along your custom curve—perfect for creating organic, flowing movements.
Use cases:
Professional animators use tweening with secondary motion principles:
Combine multiple tween types simultaneously for rich effects:
Moving ball example:
Tween recycling: Reuse tween code for multiple similar objects instead of creating new tweens each time. This improves performance and maintains consistency.
Conditional tweening: In game projects, only run tweens when objects are visible on screen. This dramatically improves frame rates in complex projects.
Help your child create impressive demonstrations of their animation skills that showcase learning and creativity.
Beginner Projects (1-2 weeks):
Intermediate Projects (2-4 weeks):
Many students combine tweening with Scratch music players to create animated music visualizers.
Advanced Projects (4-8 weeks):
Document each project with:
As we wrap up this comprehensive guide, here’s what matters most for supporting your child’s animation journey:
Tweening fundamentally changes how kids approach animation. Instead of tedious repetition, they focus on creative decisions, storytelling, and experimentation. This shift builds confidence and sustains interest in digital creation.
The skills learned through tweening extend far beyond animation. Your child develops mathematical thinking, problem-solving abilities, spatial reasoning, and professional workflow habits that apply to countless future opportunities.
Progress happens through experimentation. Encourage your child to try different timing, combine effects, and sometimes “break” animations to discover what works. The best learning happens through creative exploration.
Industry-standard tools are accessible to young learners. Whether starting with Scratch or progressing to professional software, kids can learn the same techniques used in major studios—setting them up for potential careers in animation, game development, or interactive design.
Children as young as 8 years old can grasp basic tweening concepts, especially using visual platforms like Scratch. The glide blocks in Scratch provide intuitive introduction to smooth motion without requiring complex coding knowledge. By 10-12, most kids can handle more sophisticated tweening in professional tools like Adobe Animate.
Tweening automatically generates intermediate frames between keyframes, while frame-by-frame requires manually creating every single frame. Tweening is 70-80% faster for smooth motion sequences. Frame-by-frame offers more artistic control for unique or irregular movements. Most professional projects combine both techniques strategically.
Absolutely! Scratch’s “glide” blocks are specifically designed for tweening. These Motion category blocks automatically create smooth movement between positions over your specified time duration. Kids can also tween other properties using blocks like “change size” with repeat loops to create gradual scale effects.
The most frequent errors include using inconsistent timing across similar animations, forgetting to add easing for natural acceleration, over-tweening everything when instant changes work better, and running conflicting tweens on the same property simultaneously. Our mistake section above provides detailed fixes for each issue.
For beginners (ages 8-11), Scratch provides the perfect introduction with its visual glide blocks. Intermediate learners (11-14) benefit from Adobe Animate’s professional tools with kid-friendly interfaces. Advanced students (14+) can explore Blender for 3D tweening. Choose based on your child’s age, current skills, and creative goals rather than jumping to the most advanced option.
Yes! Tweening teaches crucial programming concepts including parameters (duration, position), sequencing (chaining animations), conditional logic (when to trigger tweens), and optimization (performance considerations). These transferable skills directly enhance general coding ability and computational thinking.
Show genuine interest in their projects by asking about specific animations they created. Provide time and space for creative experimentation without pressure for “useful” outcomes. Help troubleshoot technical issues by learning basic concepts yourself. Celebrate progress and completed projects publicly. Consider structured learning through courses like ItsMyBot’s programs that provide mentorship and community.
Your child’s animation journey starts with a single tween. The smooth motion they create today builds confidence for tomorrow’s more complex projects.
At ItsMyBot, we’ve helped thousands of children transform from passive technology consumers into active creators. Our personalized coding and animation courses adapt to your child’s pace, providing expert mentorship every step of the way.
Ready to see your child’s creativity come to life? Explore our age-appropriate courses in Scratch animation, game development, and digital creation. Every lesson keeps parents informed about progress while building skills that matter.
Discover how ItsMyBot turns screen time into skill time. Book a free consultation to find the perfect learning path for your child’s creative journey.