
Reading Time: 10 mins
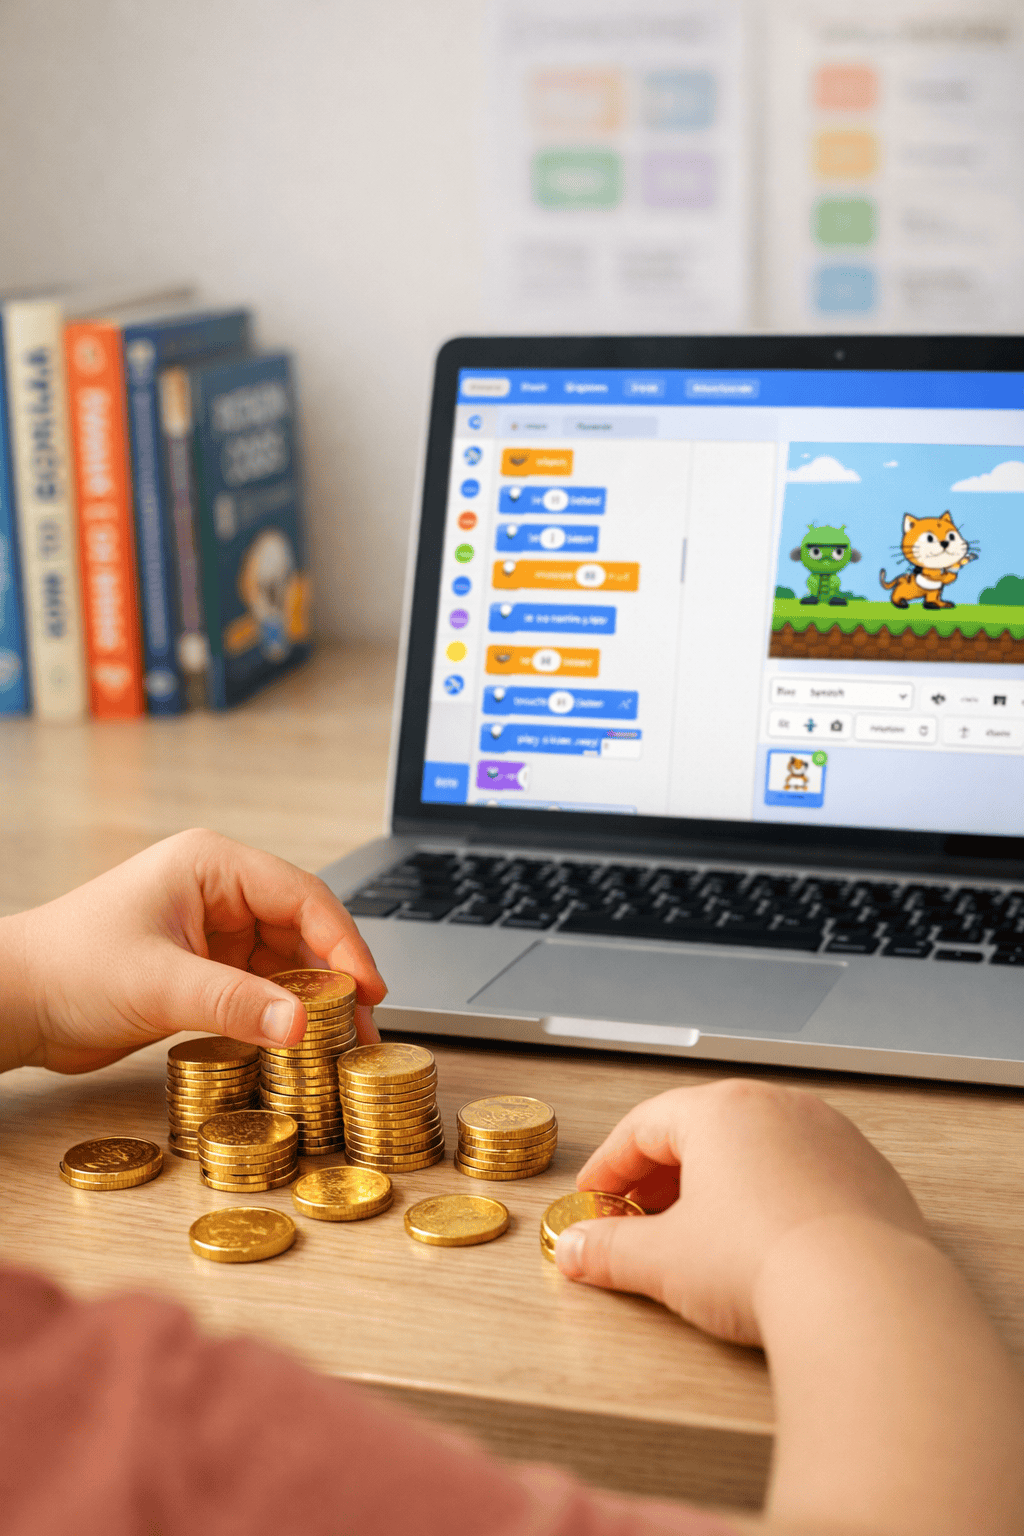
Picture this: You’re playing your favorite game, and every action earns you coins. Those coins unlock new powers, characters, and levels.
Without currency systems, games feel flat and unrewarding. Players have no reason to keep playing beyond the initial fun.
This tutorial shows you how to build professional currency displays that track progress, reward achievements, and create purchase mechanics—the foundation of engaging game design.
Variables store the number of coins your player collects. Think of them as invisible containers that remember important numbers.
Navigate to the Variables section in Scratch’s block palette. You’ll find it on the left side with an orange color.
Click “Make a Variable” to open the creation dialog. This button appears at the top of the Variables section.

Variable Setup Process:

Your new variable appears in the Variables section. Scratch automatically displays it on the stage as a simple number.
The heads-up display (HUD) shows currency information directly on your game screen. Professional games use custom HUDs instead of default variable displays.
Create a new sprite by clicking the paint icon in the sprite section.

This opens Scratch’s costume editor.
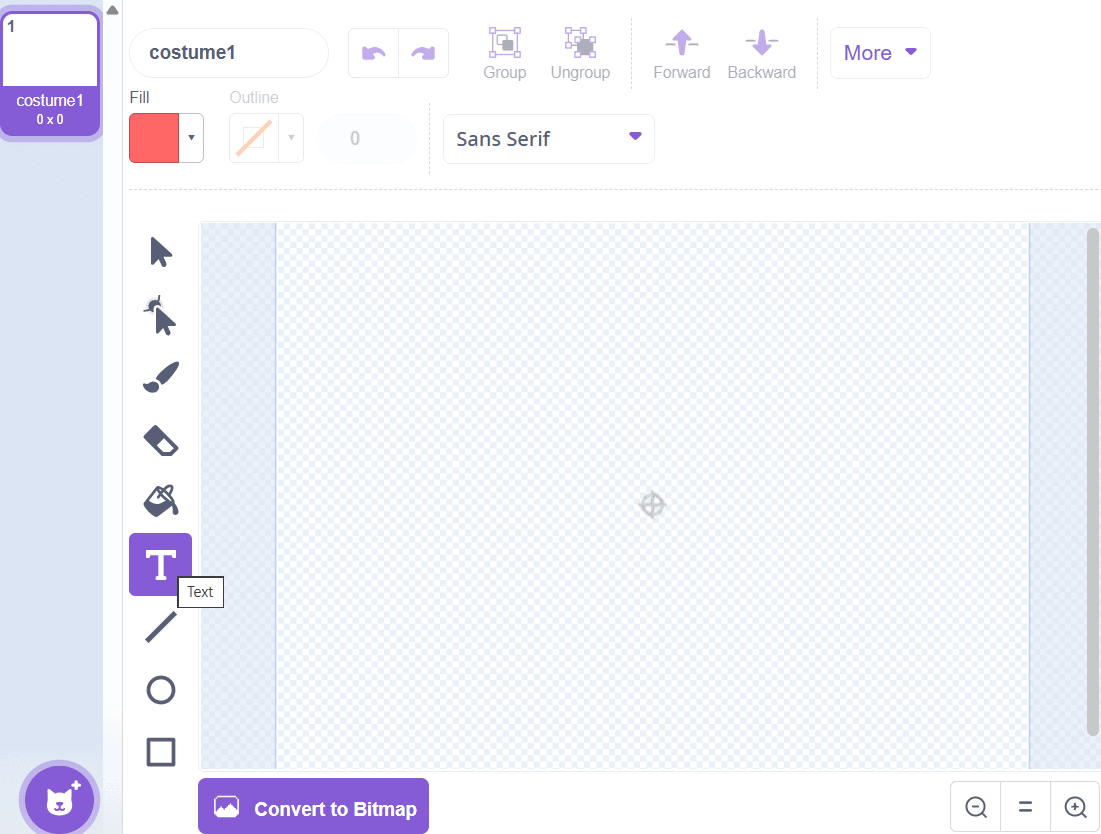
Select the text tool from the left toolbar. The text tool looks like a “T” icon.
HUD Design Steps:

The HUD sprite becomes your currency display’s background. You can add decorative elements like borders or icons later.
Set your HUD sprite’s position in the top-left corner using these coordinates:

These coordinates ensure your HUD stays visible above gameplay elements. Adjust based on your specific game layout.
Your HUD needs to update automatically when the player collects coins. This requires connecting your variable to text display blocks.
Add this code to your HUD sprite:
When Green Flag Clicked Block:

This code creates a live currency counter that updates every tenth of a second. The join block combines your label text with the actual coin count.
Why Use Forever Loops: Forever loops continuously check your coins variable and update the display. Without this loop, your HUD would only show the initial coin value.
Collectible coins need two parts: the coin sprite itself and collision detection code.
Create a new sprite and design a golden coin. You can:

Professional tip: Create 2-3 costumes with slight variations for spinning animation effects.
Add this code to your coin sprite:
When Green Flag Clicked:

Forever Loop (Main Collection Logic):


This creates a respawning coin system. The coin disappears when collected, awards one currency unit, and reappears at a random location.
❌ Mistake 1: Not initializing coins to 0 at game start
❌ Mistake 2: Missing collision detection
❌ Mistake 3: No wait time between collections
Purchase systems let players spend currency on upgrades, power-ups, or cosmetic items.
Create a shop sprite or purchase trigger. Add this code:
When [B] Key Pressed (or When This Sprite Clicked):

This code checks if the player has enough coins (at least 5) before allowing the purchase.
Here’s what your finished currency system looks like during gameplay:
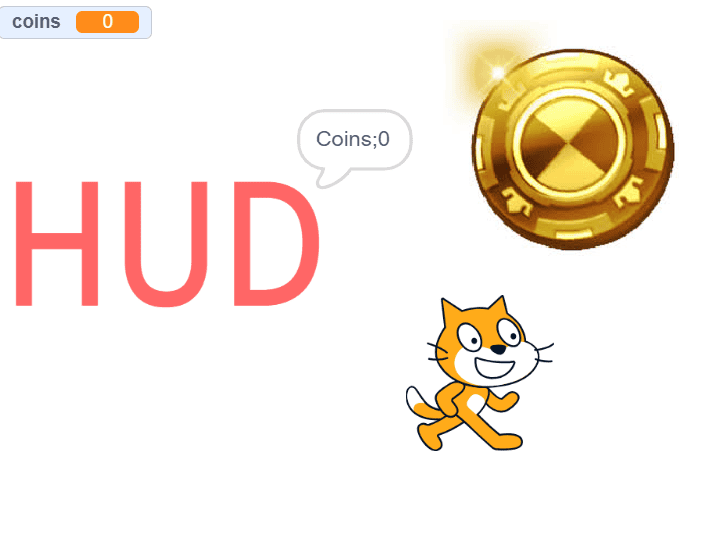
The HUD displays in the top-left corner, coins appear on the stage, and the player sprite can collect them to increase the counter.
Multiple Purchase Options: Create different items with varying costs:
Use separate conditional blocks for each price tier.
Purchase Confirmation Messages: Add “say” blocks that announce successful purchases:
Professional currency systems include visual feedback, sound effects, and smooth animations.
Add these sounds to enhance player feedback:
Import sounds from Scratch’s library or record custom audio.
Coin Particle Effects: When collecting coins, broadcast a message to create small particles:
Shake Animation for HUD: When earning large coin bonuses, make the HUD shake slightly:
Symptoms: HUD shows “0” even after collecting coins
Solutions:
Symptoms: Single coin touch adds 5-10+ coins instantly
Solutions:
Symptoms: Nothing happens when trying to purchase items
Solutions:
Game: “Crystal Quest Adventure”
Initial Challenge: Basic game with no progression system
Solution Implemented:
Results Achieved:
The currency system transformed a simple collection game into an adventure with meaningful progression.
Professional games often use several currencies:
Primary Currency (Coins):
Premium Currency (Gems):
Create separate variables for each currency type and duplicate your HUD display code.
Allow players to keep their currency between game sessions by storing values in lists or cloud variables (if you have a Scratch account).
Starting Balance: Give players 0-10 coins at game start. Too many coins removes challenge, too few feels punishing.
Collection Rate: Design coin spawn rates that reward consistent play:
Purchase Pricing:
Reward players with bonus currency for completing challenges:
When Broadcast [Level Complete] Received:
Create a login reward using Scratch’s date sensing:
Track total coins earned across all plays:
❌ Mistake 1: Making items too expensive
❌ Mistake 2: No visual feedback on collection
❌ Mistake 3: Coins spawning off-screen
❌ Mistake 4: Allowing negative currency values
Before sharing your project, test these scenarios:
Collection Testing:
Purchase Testing:
Edge Case Testing:
Once you’ve mastered basic currency, explore these advanced concepts:
Quest Systems: Create missions that reward 25-100 coins for completion. Use broadcast messages to trigger reward payouts when objectives complete.
Merchant NPCs: Design characters that sell items using “when this sprite clicked” blocks combined with purchase logic.
Currency Converters: Allow players to exchange one currency type for another using multiplication and division operators.
For more advanced Scratch projects, explore our guide on how to make a clicker game in Scratch which builds on these currency mechanics.
Create multiple coin sprites with different “change coins by” values. For example, bronze coins use “change coins by 1”, silver coins use “change coins by 5”, and gold coins use “change coins by 10”. Give each coin sprite a different costume and appropriate value in its collection code.
Position your HUD in the top-left corner (x: -180, y: 160) or top-right corner (x: 180, y: 160). These positions keep displays visible without blocking gameplay. Avoid centering currency displays as they obscure important game elements.
Create a list of valid x and y coordinates where coins can spawn. Use “item (random) of [valid positions]” instead of “pick random -220 to 220”. This ensures coins only appear in accessible areas players can reach.
Yes! Create a “purchased items” list and add item names when bought. Before allowing purchase, check “if [purchased items] contains [item name]” and skip the purchase code if true. This prevents buying the same item twice.
Currency systems work identically in Scratch’s mobile app. All variable blocks, collision detection, and purchase logic function the same way. Test thoroughly on mobile to ensure touch controls work properly for coin collection.
Variables store single values (like current coin count) and update instantly. Lists store multiple values (like purchase history or high scores). Use variables for active currency tracking and lists for permanent records across game sessions.
Use Scratch’s cloud variables feature (available with Scratch accounts). Change “Make a Variable” to “Make a Cloud Variable” when creating your currency. Cloud variables save values online and restore them when players return. Note: Cloud variables only work for logged-in Scratch users.
Yes! Add a separate “forever” loop that includes “wait 1 seconds” then “change coins by -1”. Add a conditional “if coins < 0 then set coins to 0” to prevent negative values. This creates urgency in collection-based games.
You’ve learned how to build professional currency systems that transform basic Scratch projects into engaging games with progression and rewards.
Your currency system opens doors to complex game mechanics like shops, upgrades, and achievement systems. The skills you’ve practiced—variables, conditionals, and sprites—form the foundation for advanced Scratch programming.
Start implementing your custom currency today and watch your game transform from simple to spectacular. Every great Scratch game developer began exactly where you are now.
Ready to take your Scratch skills further? Explore our complete guide on how to use Scratch for more game development tutorials and advanced techniques.